Neuer Außenanstrich 2024

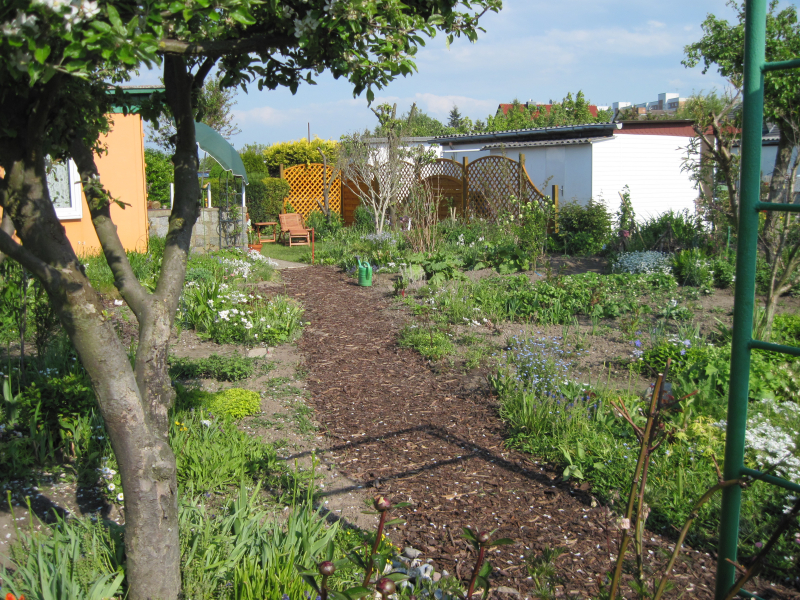
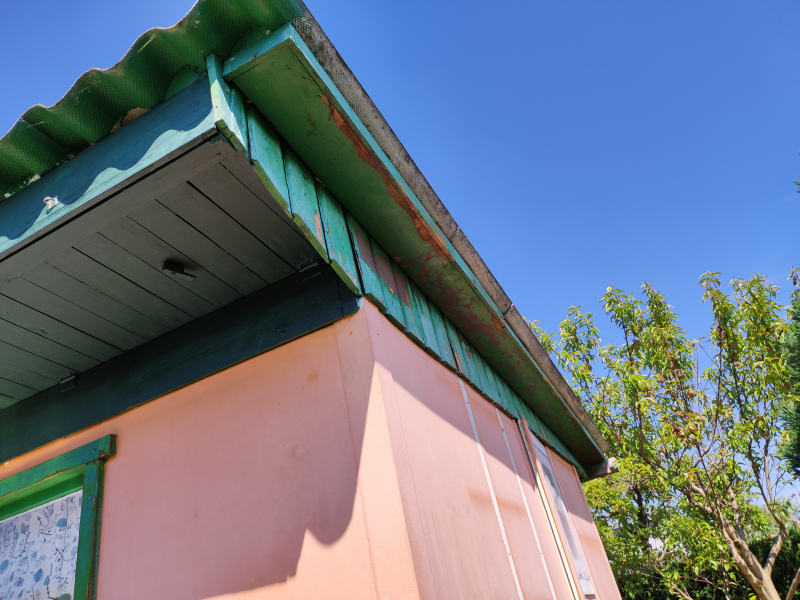
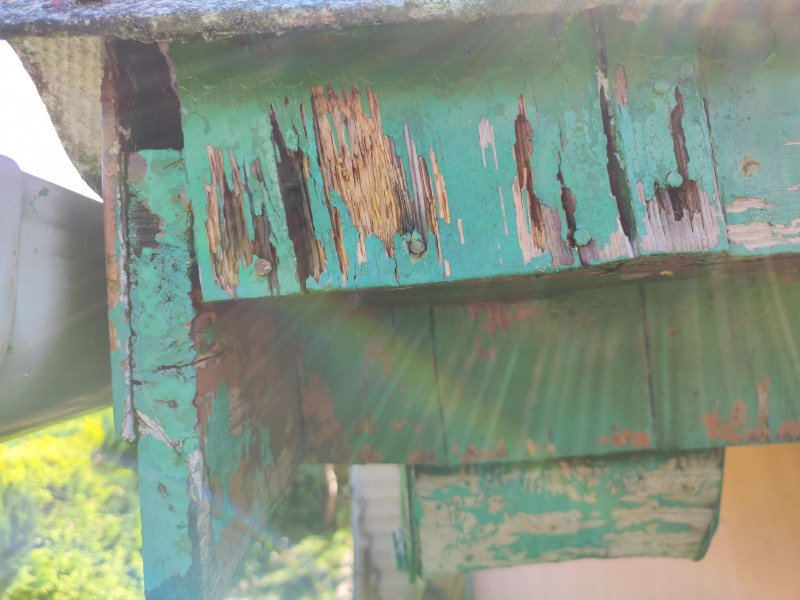
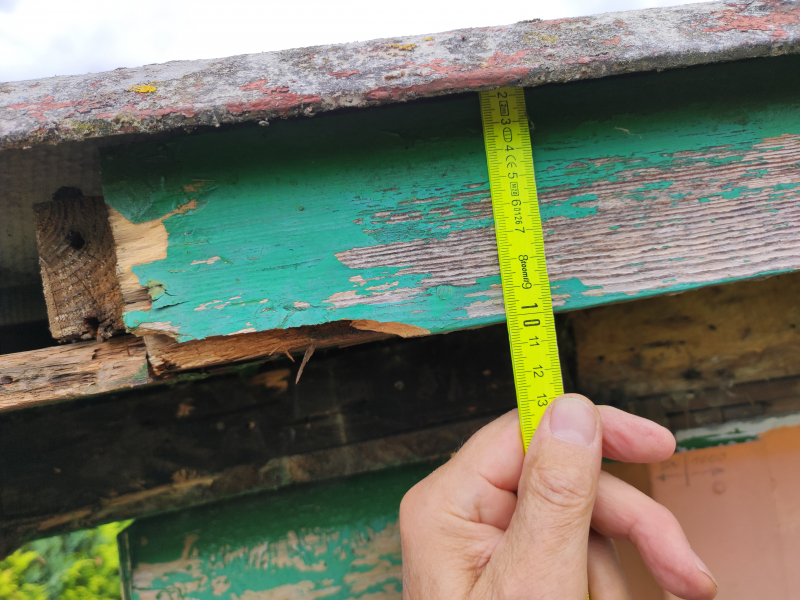
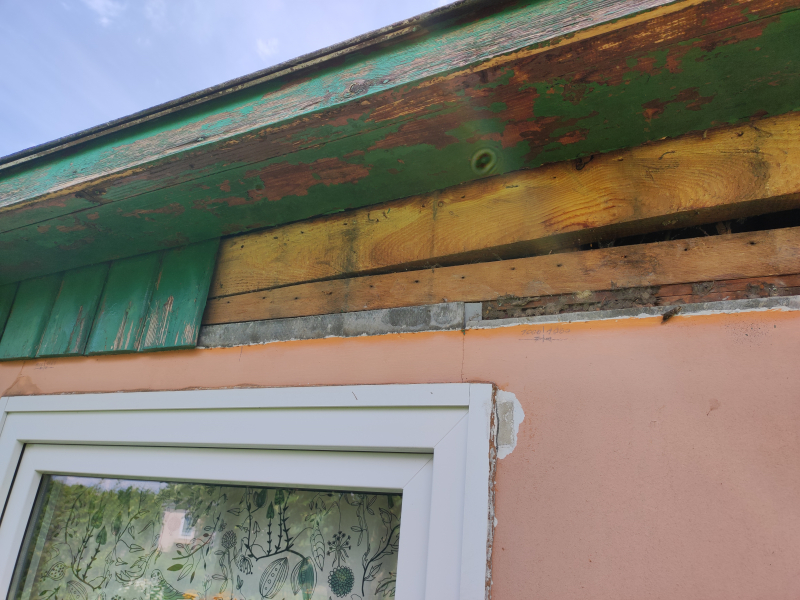
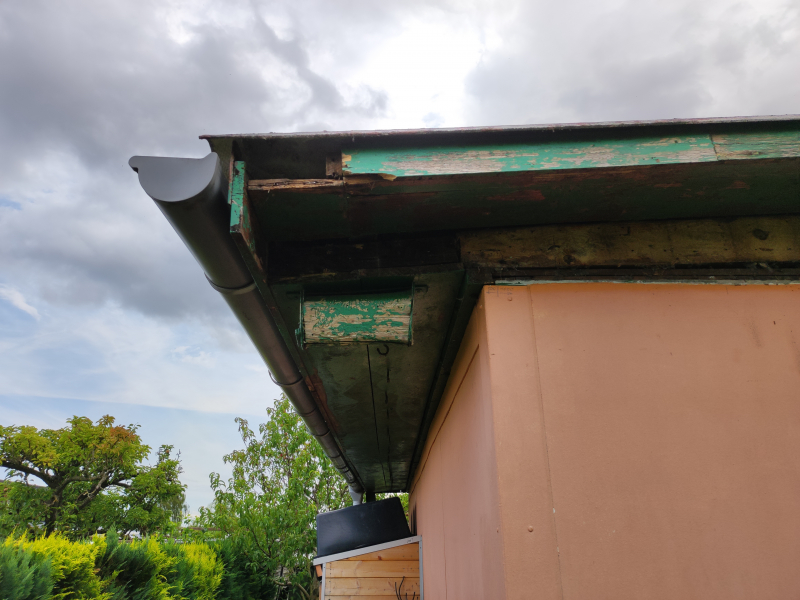
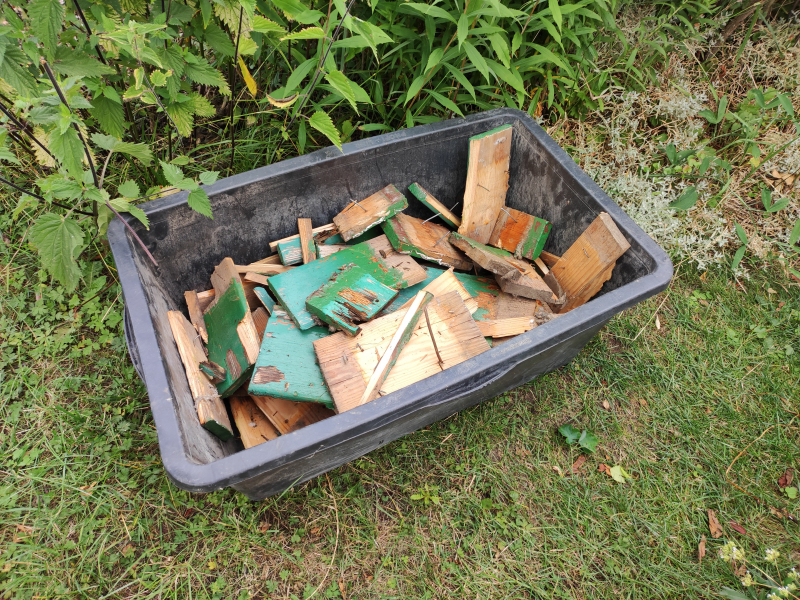
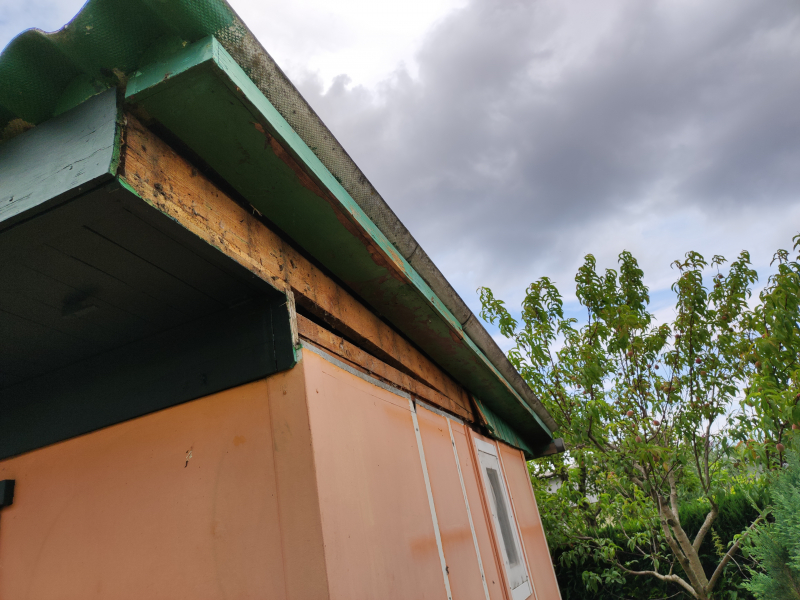
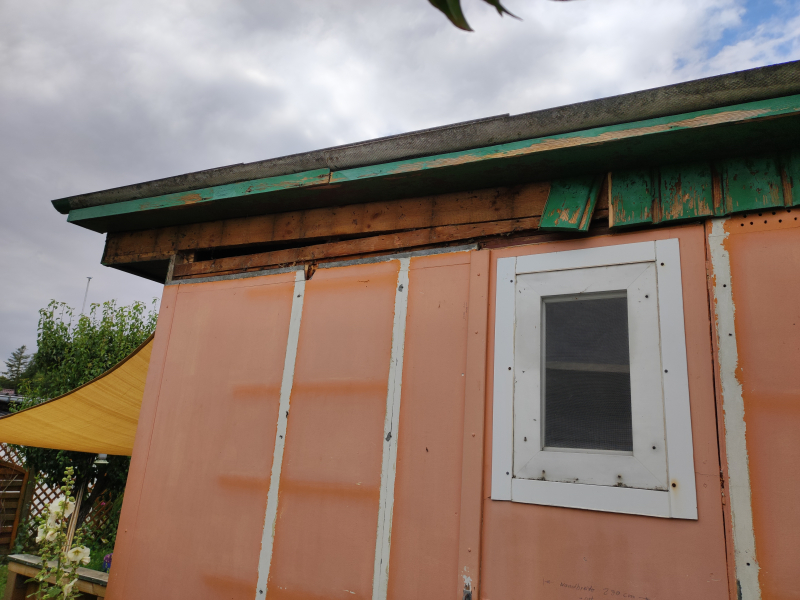
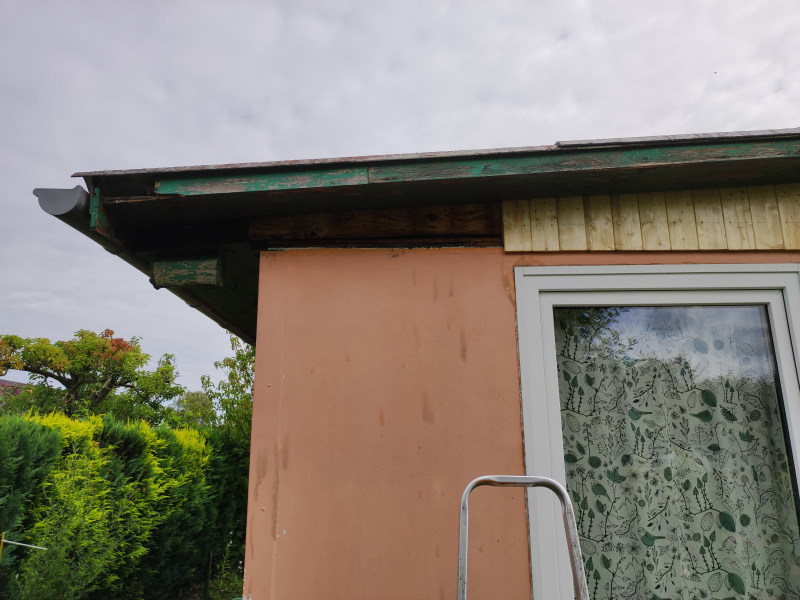
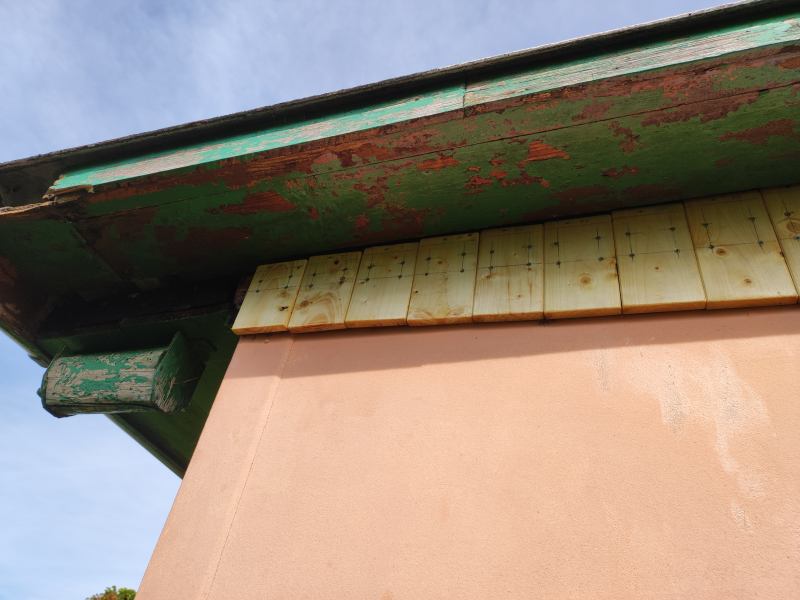
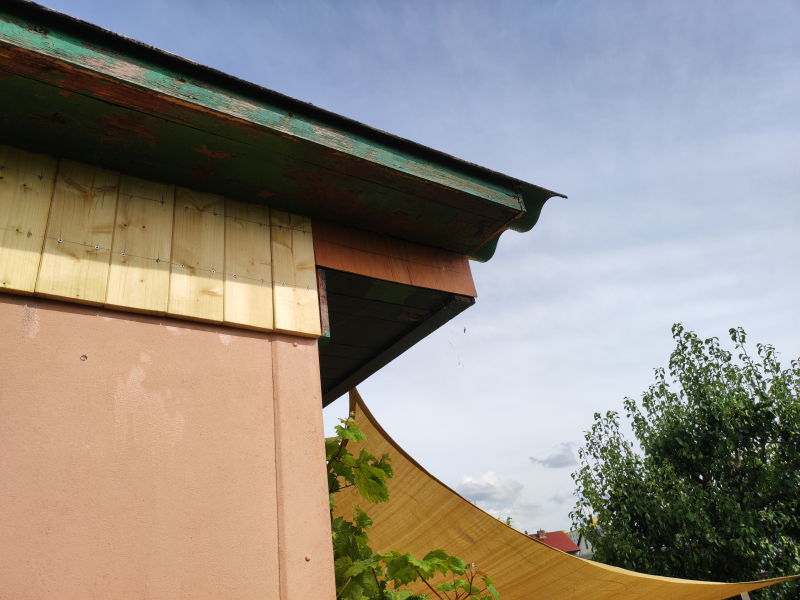
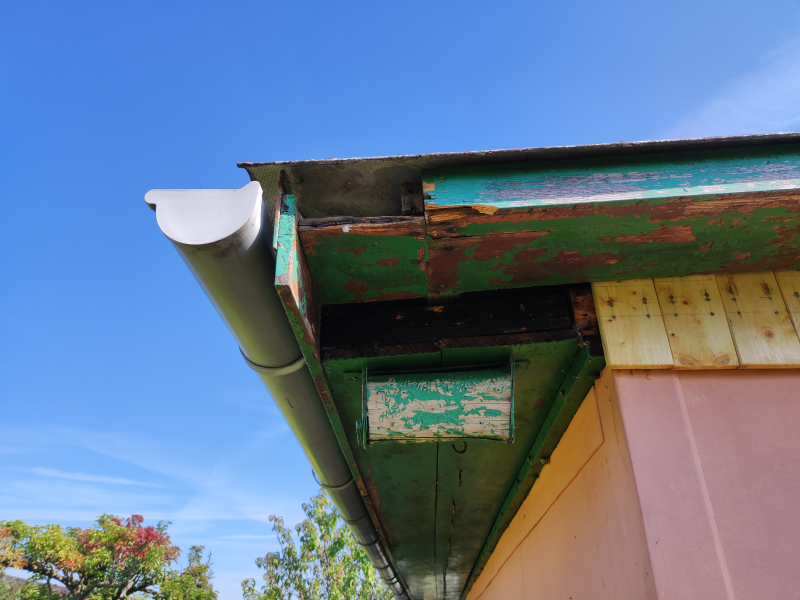
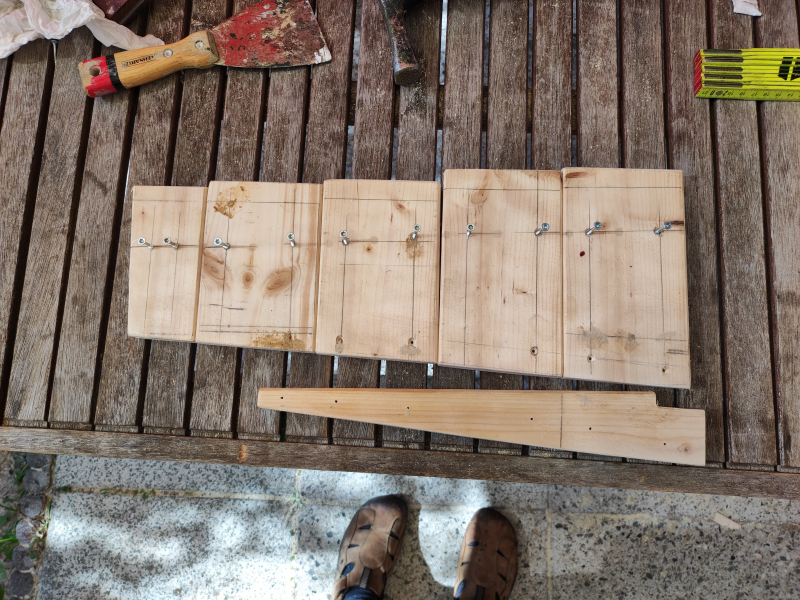
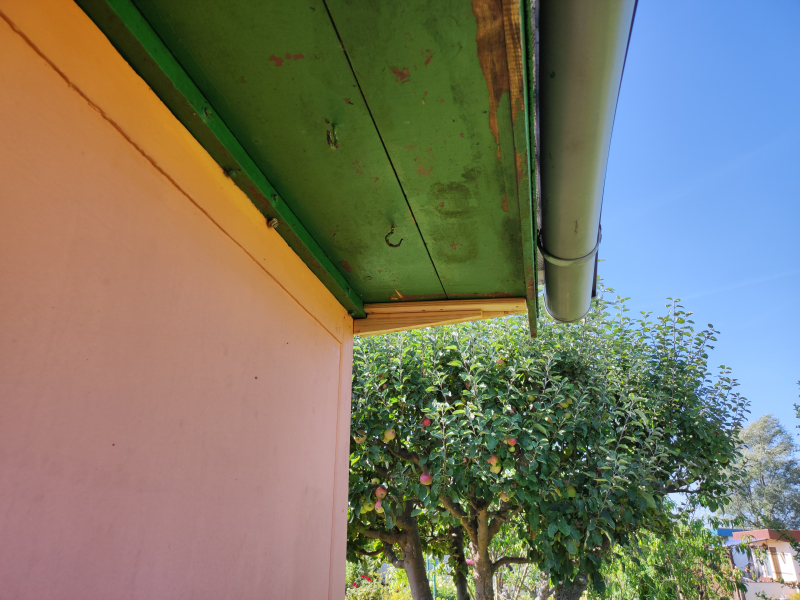
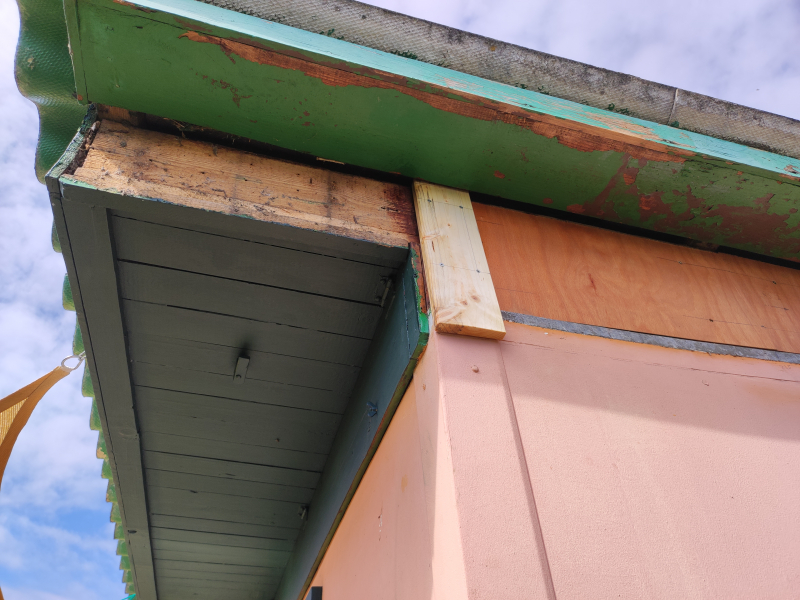
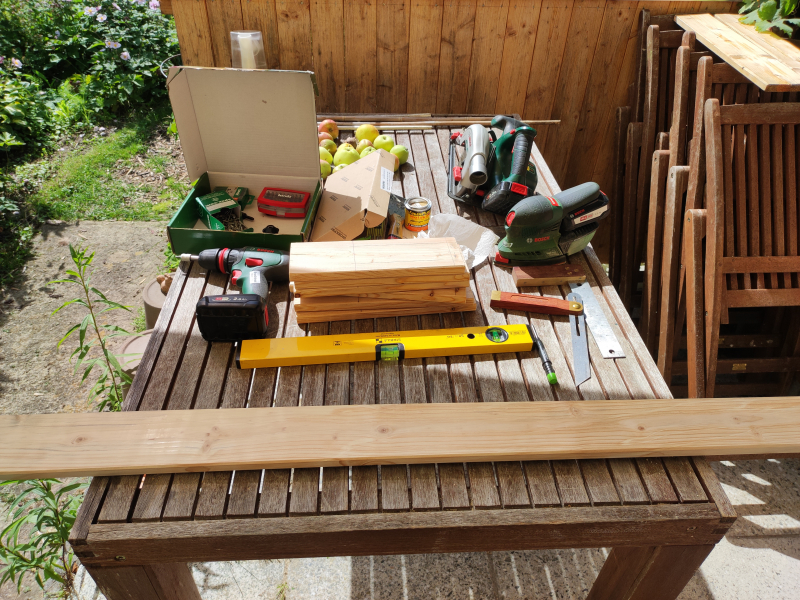
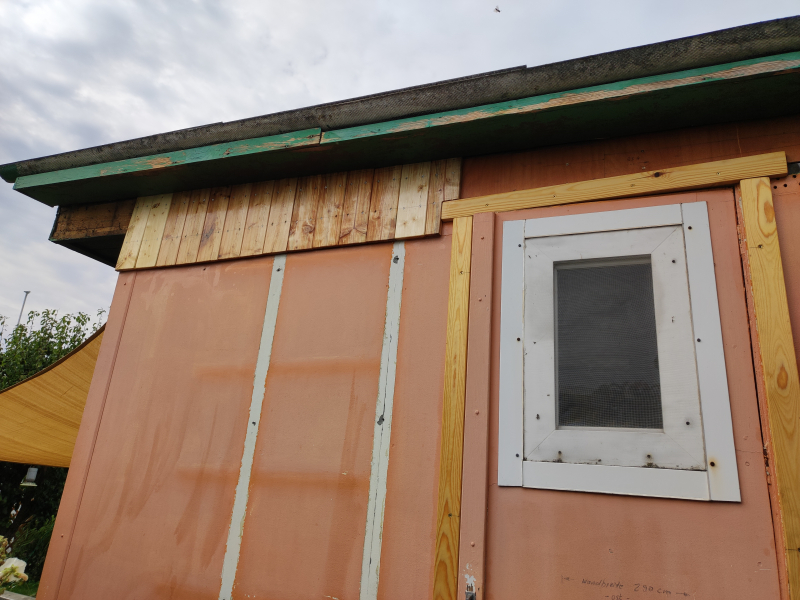
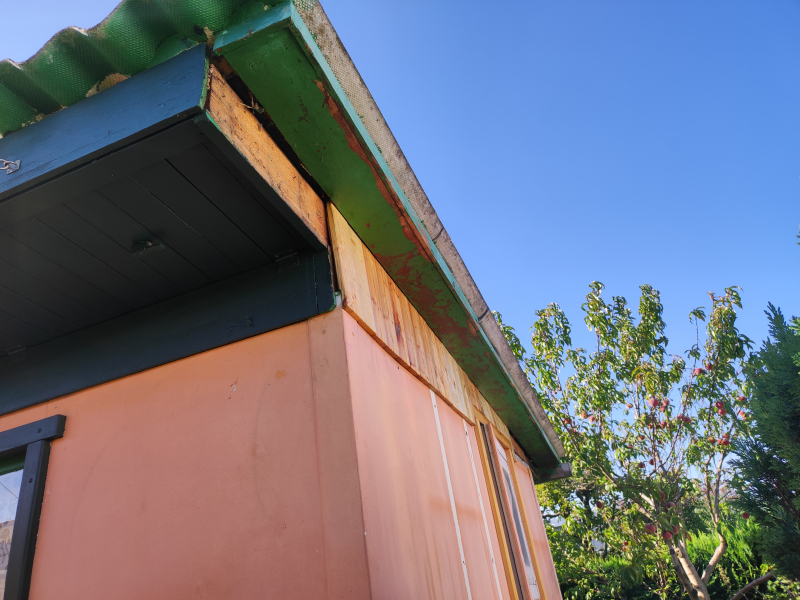
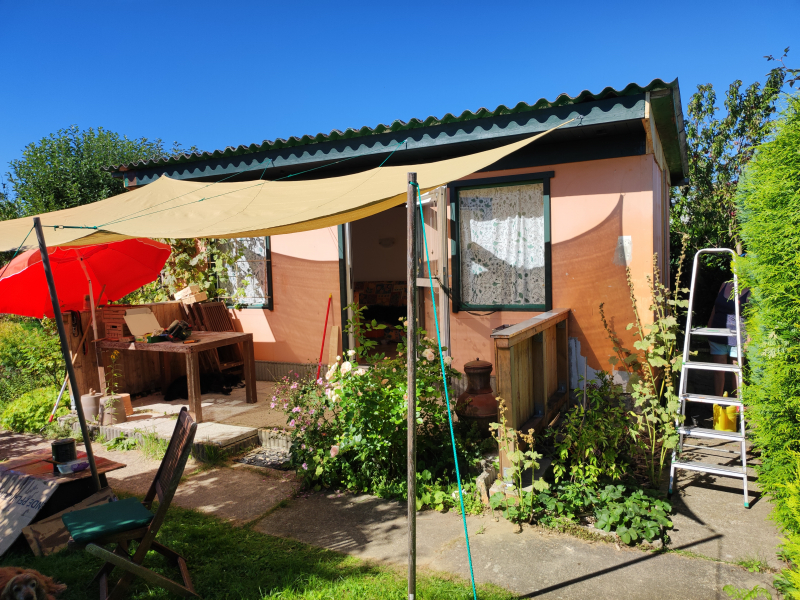
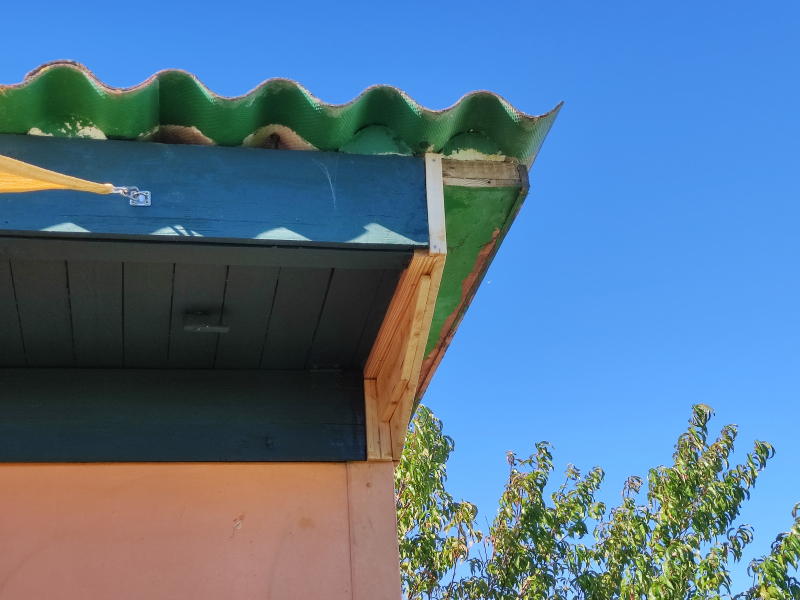
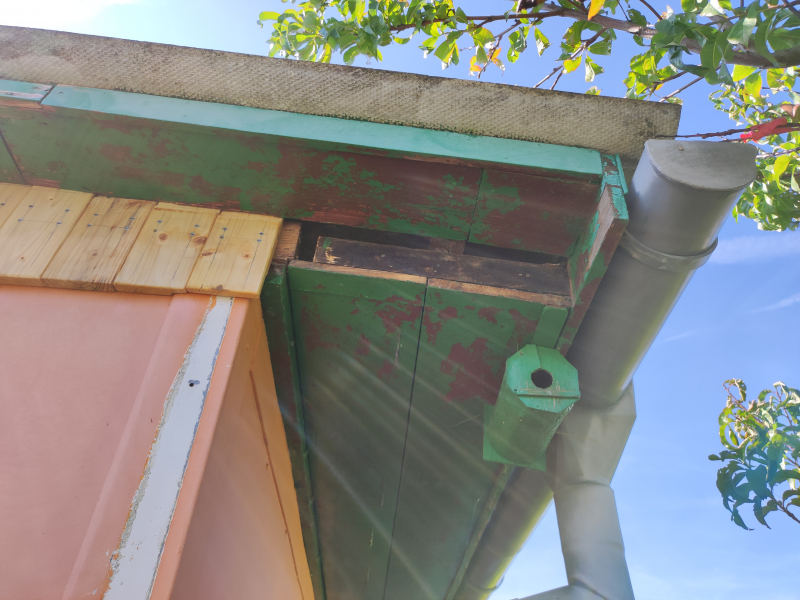
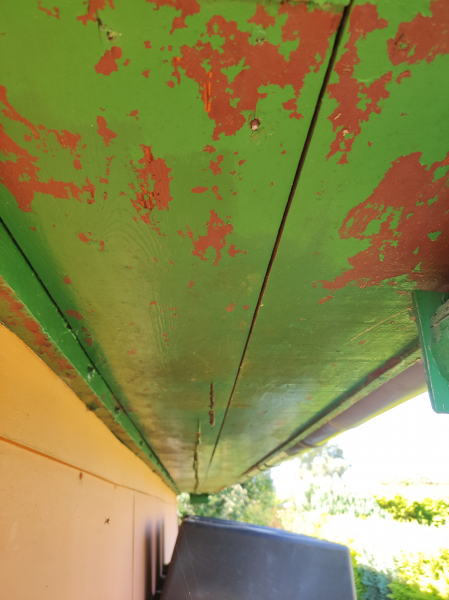
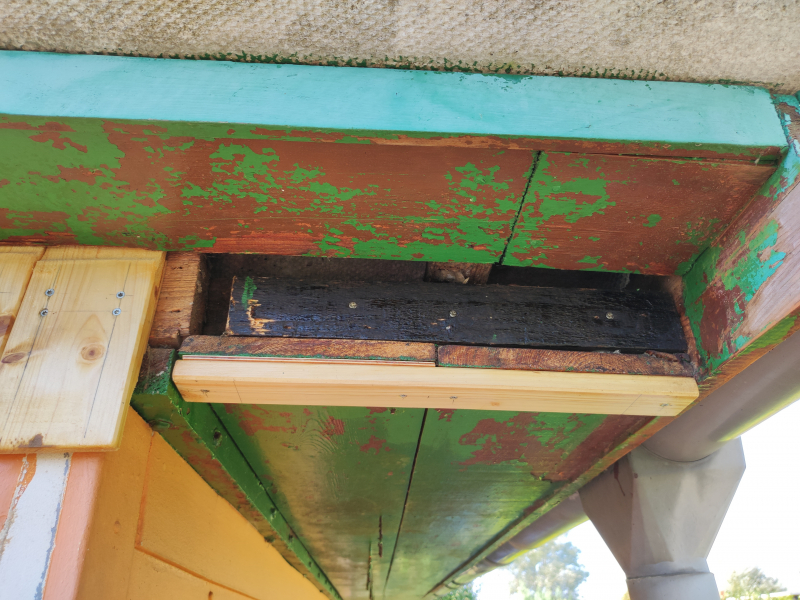
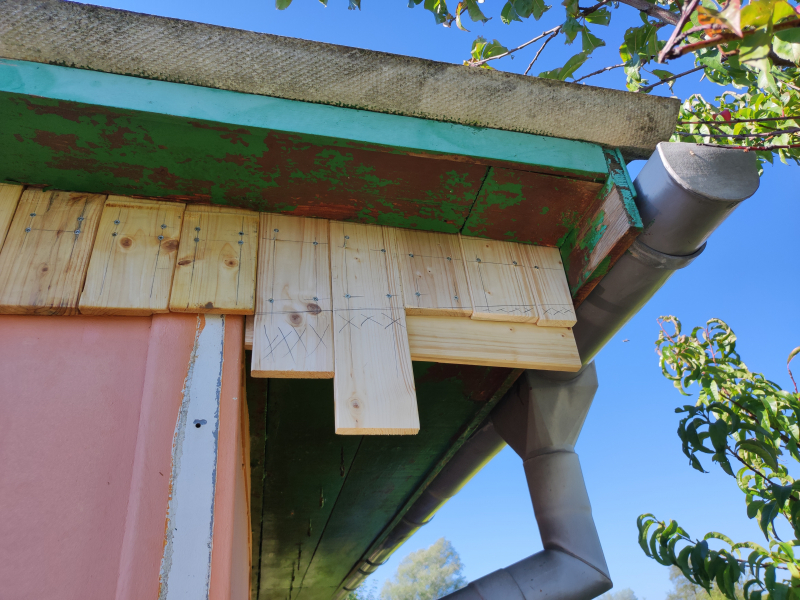
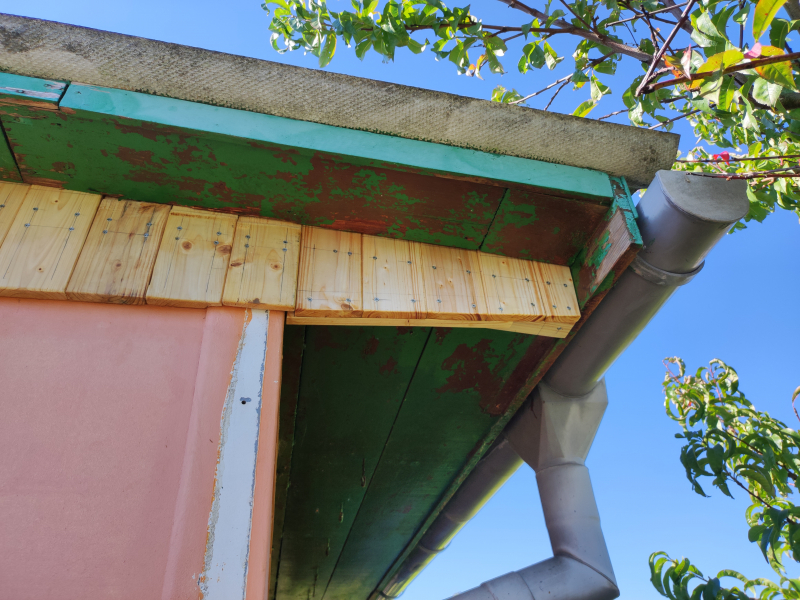
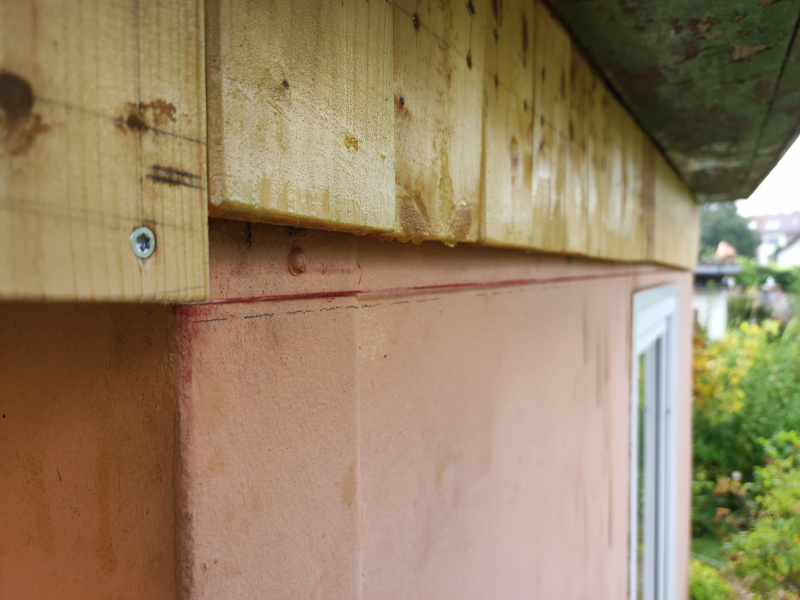
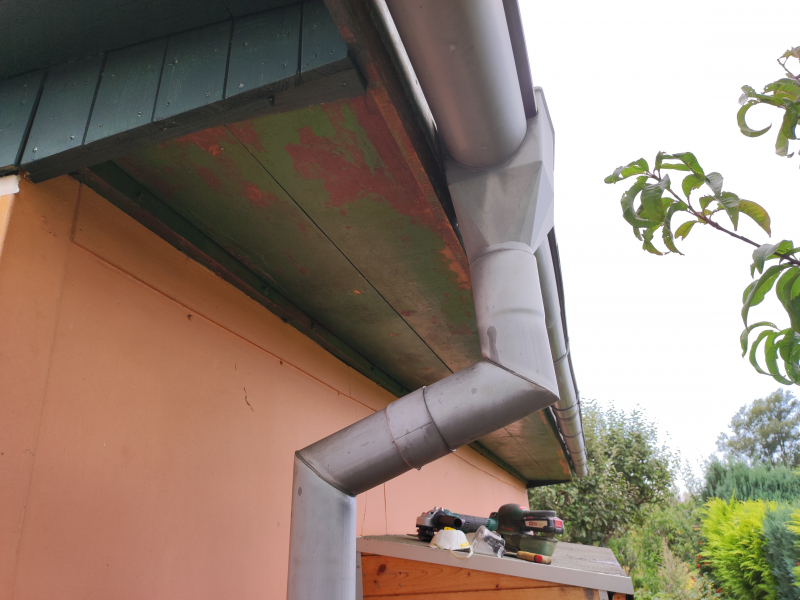
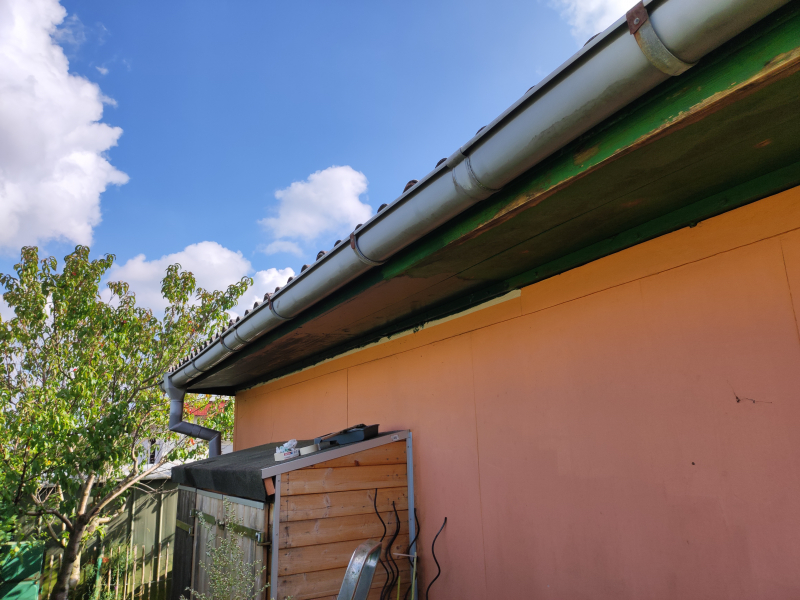
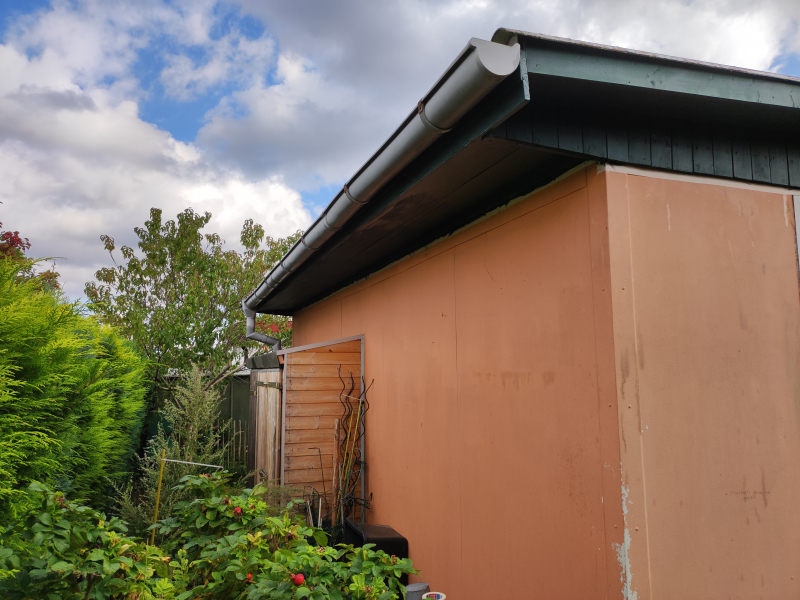
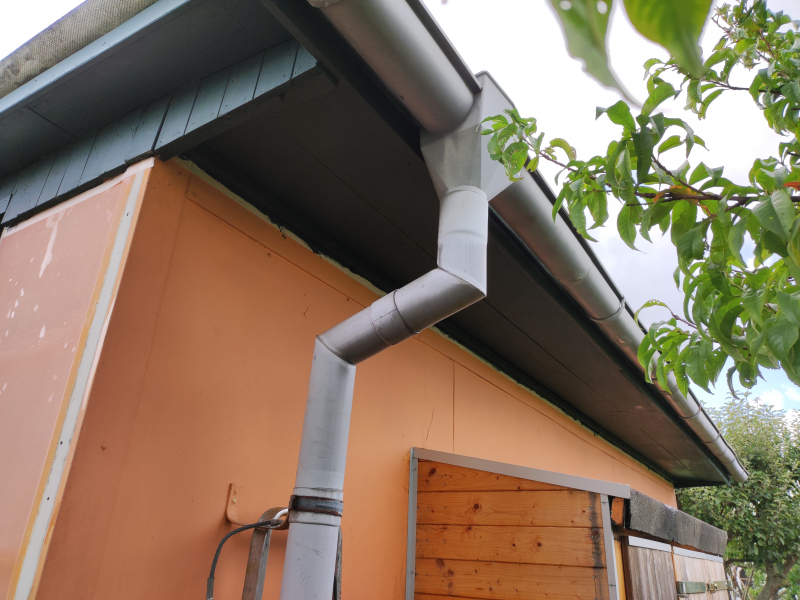
Bereits seit Jahren geplant, aber ohne die notwendigen vorausgehenden Abriss- und Reparatur-Arbeiten noch völlig unsinnig, haben wir in diesem Frühjahr endlich mit einem neuen Außenanstrich unserer Gartenlaube begonnen. Der Geräteschuppen, die Terrassenwände sowie der umlaufende Dachkasten waren nun völlig erneuert worden, so dass jetzt die Malerarbeiten unter Berücksichtigung der Vegetationsabläufe und der Terrassennutzung in einer ganz bestimmten Reihenfolge eingeplant werden musste:

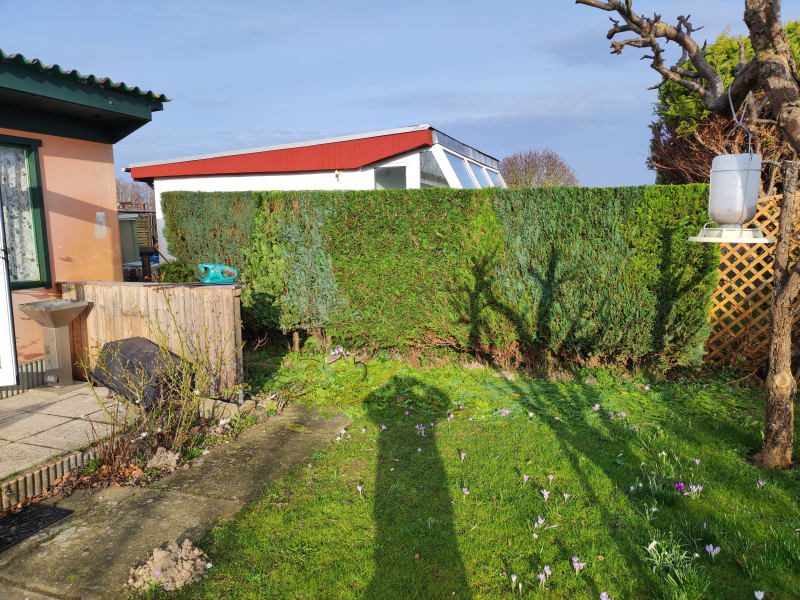
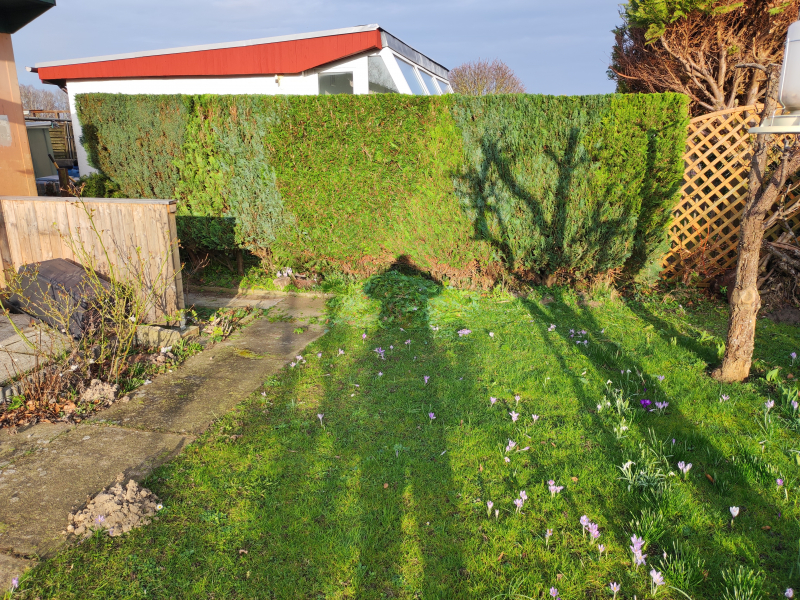
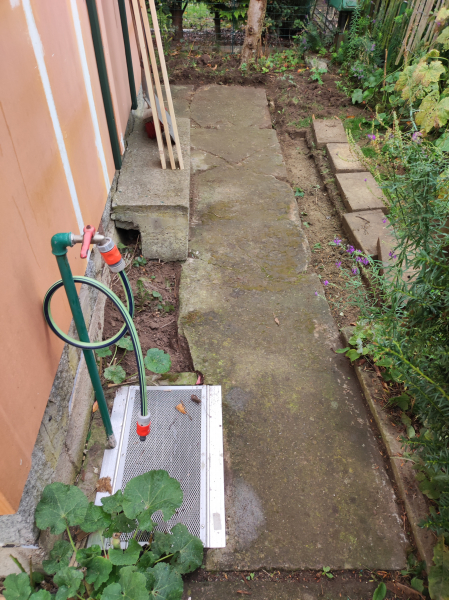
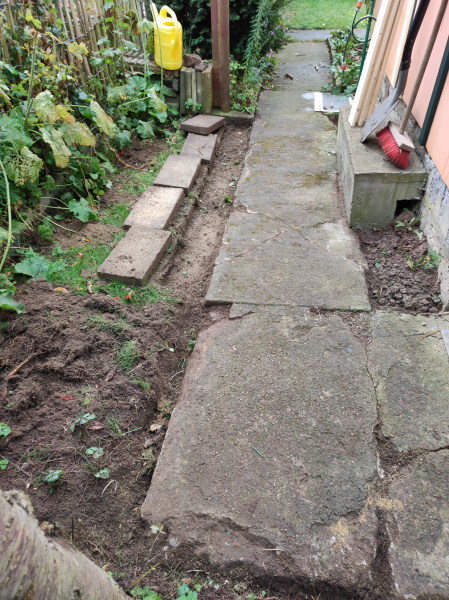
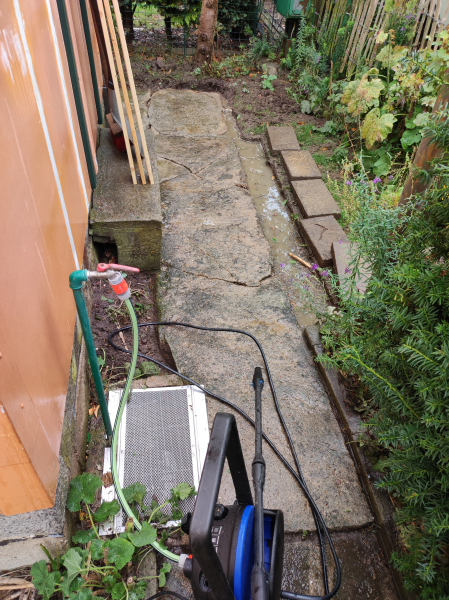
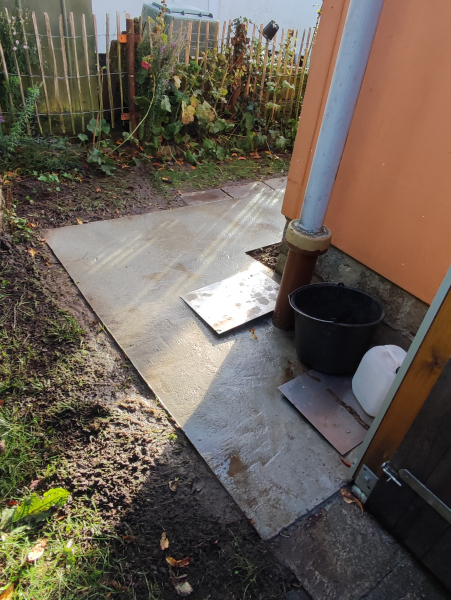
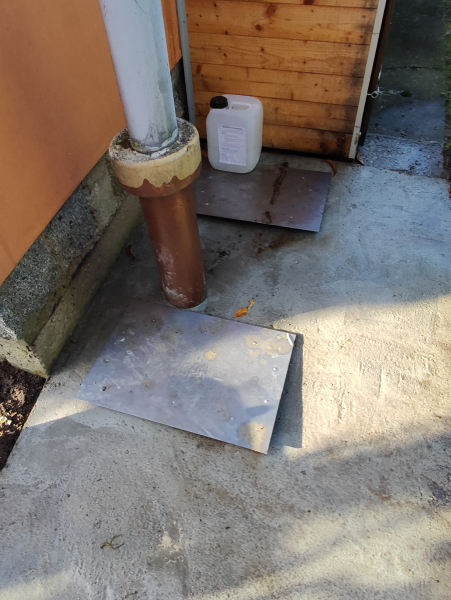
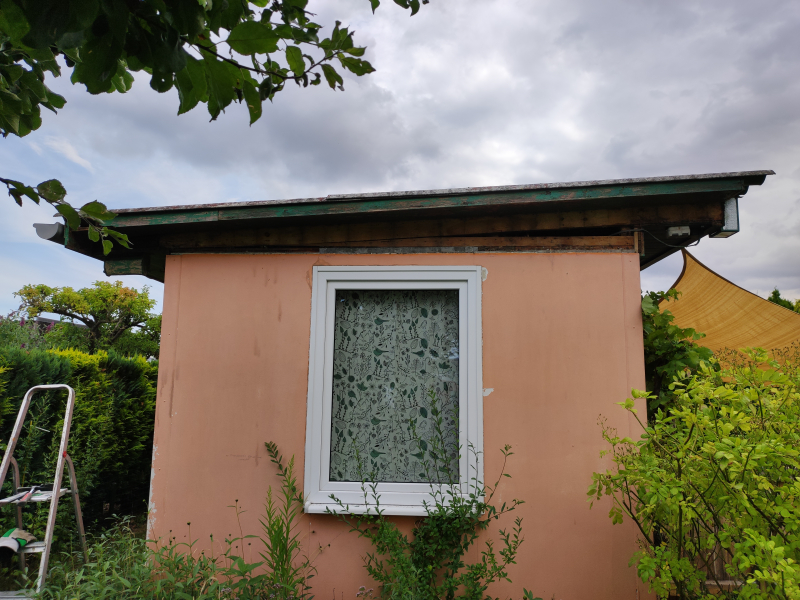
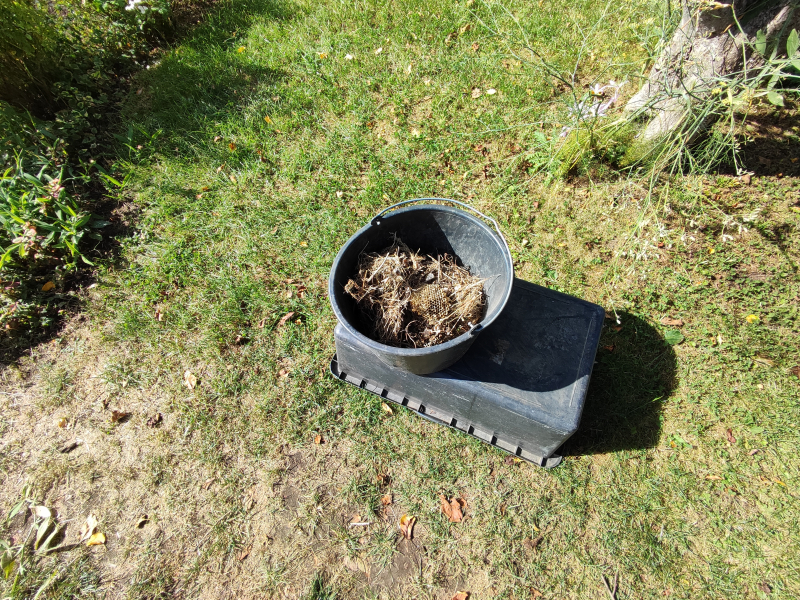
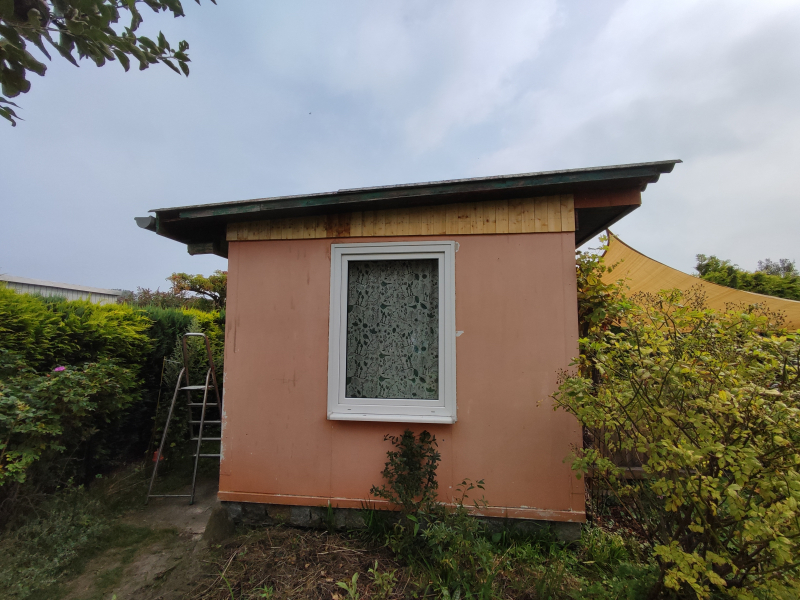
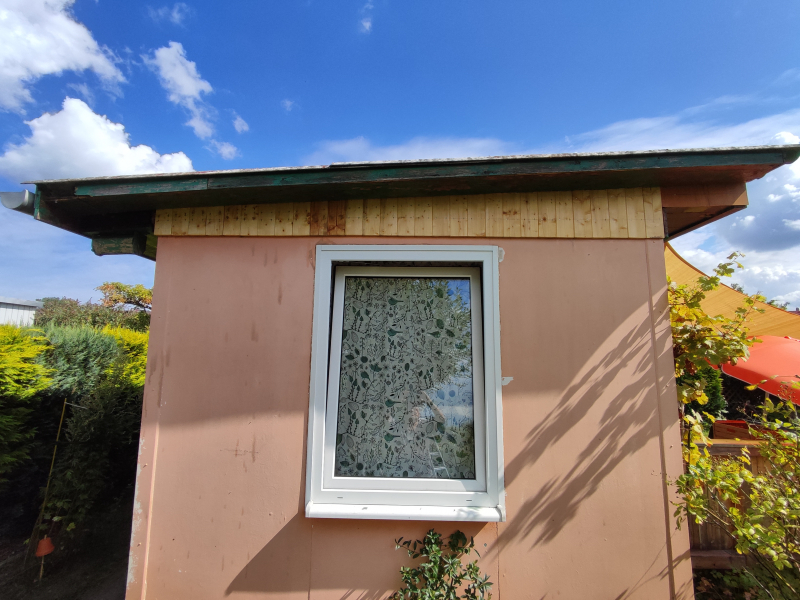
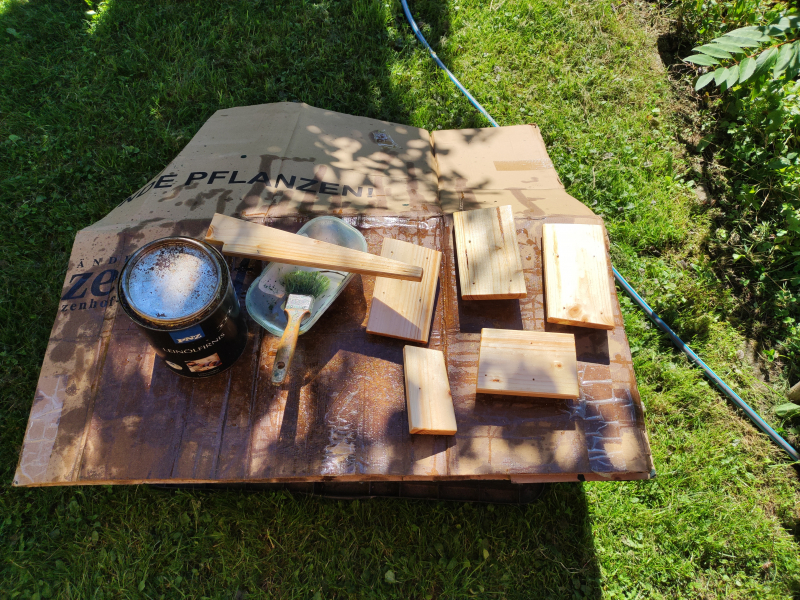
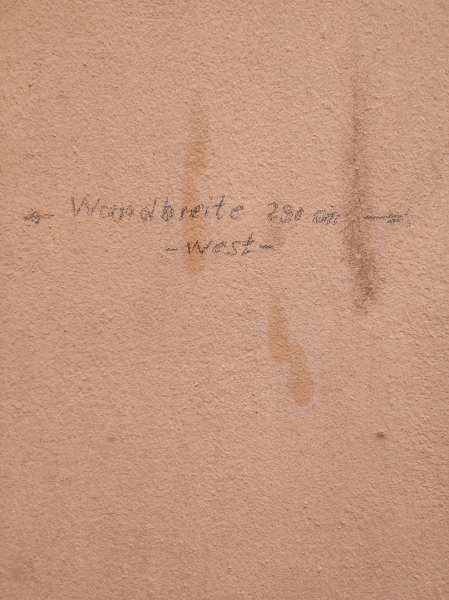
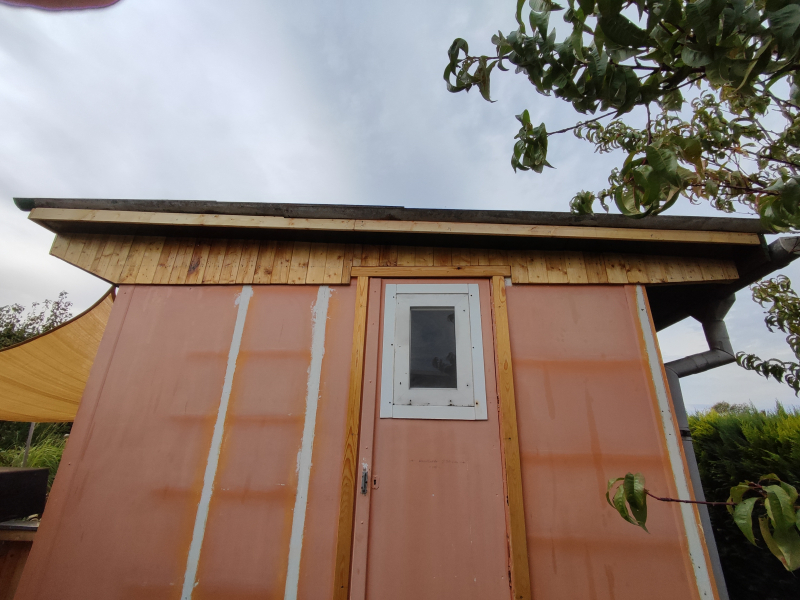
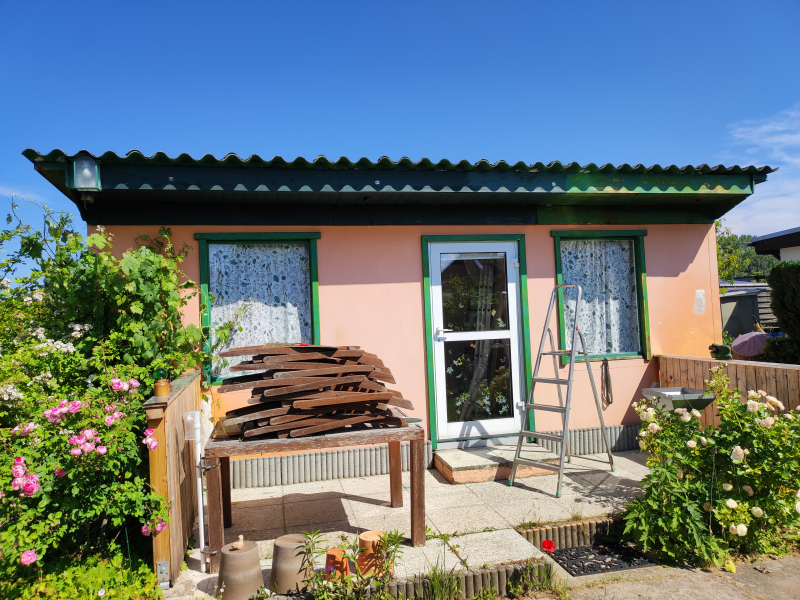
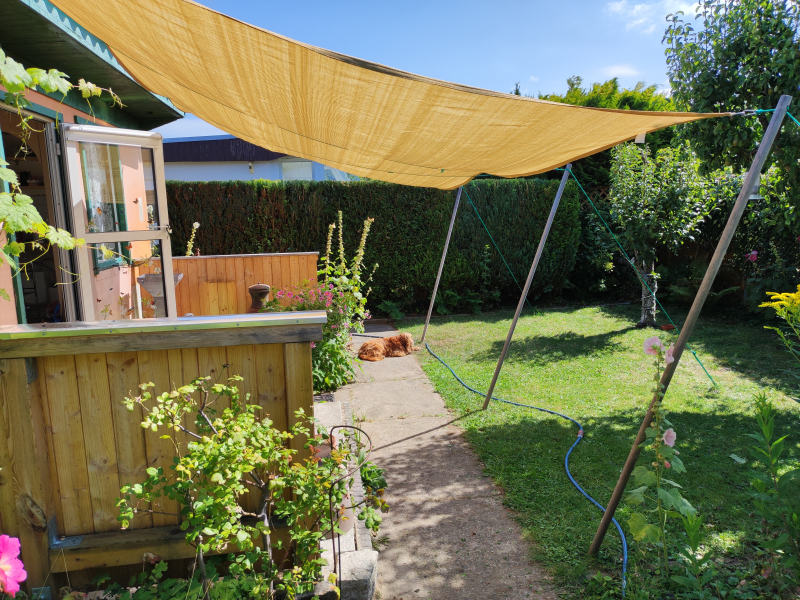
Zunächst waren hier die West- und die Südseite der Laube fällig, bevor der Wein ausschlägt, die Laubenwände überwuchert und auch die Familie die sonnige Terrassenfläche nutzt. Das endgültige Farbkonzept stand nun fest, die Schwedenfarbe war auch schon beschafft – nun musste die Laube nur noch einmal rundherum mit Hochdruck vorgereinigt werden, bevor dann ein Erstanstrich erfolgen konnte:

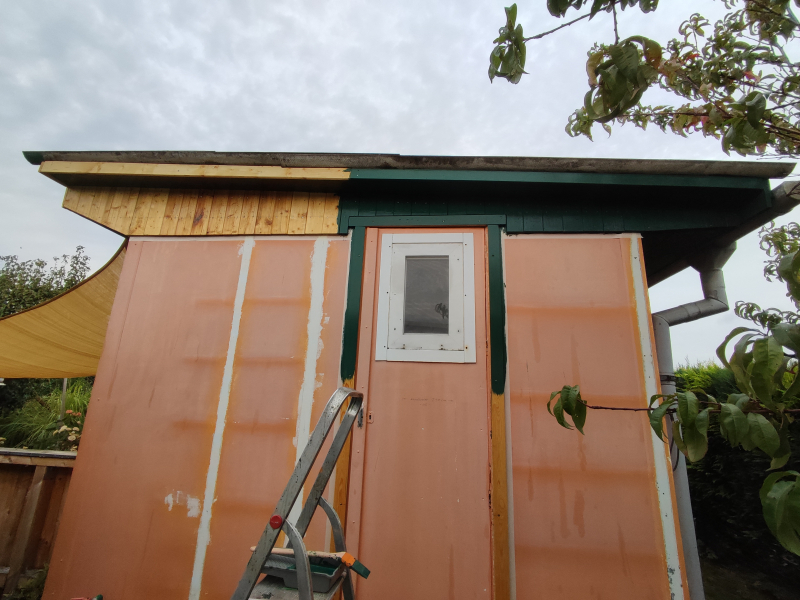
Dann begann der Erstanstrich auf der Westseite und zog sich über die Süd- bzw. Terrassen-Seite gen Osten fort:

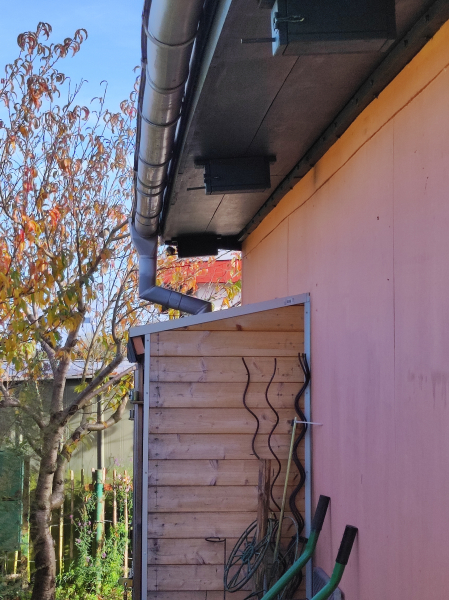
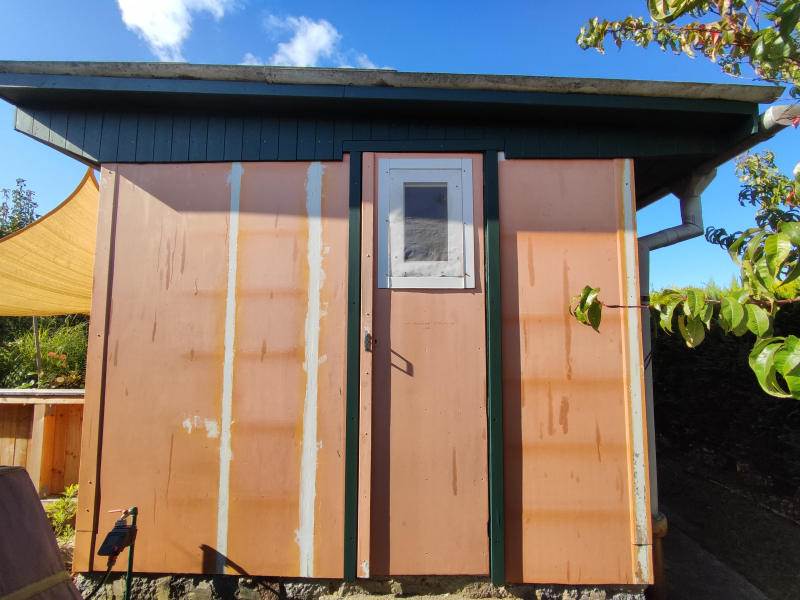
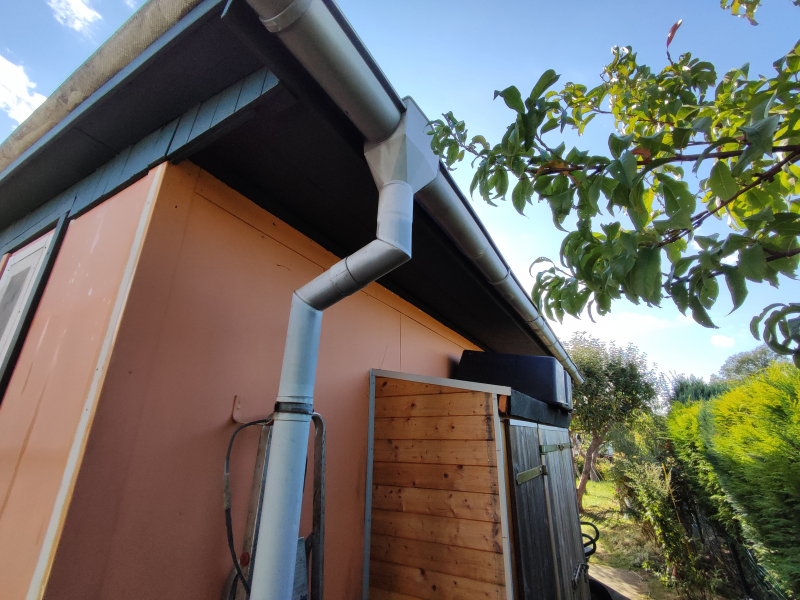
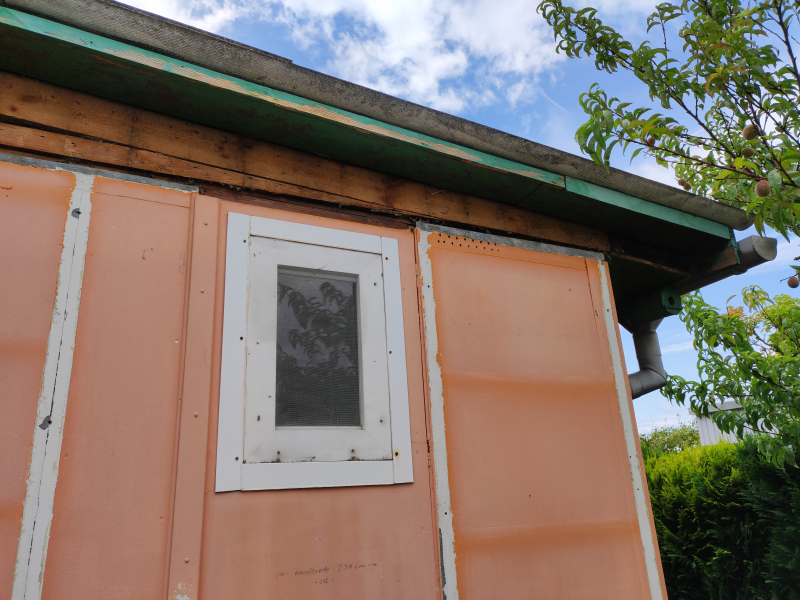
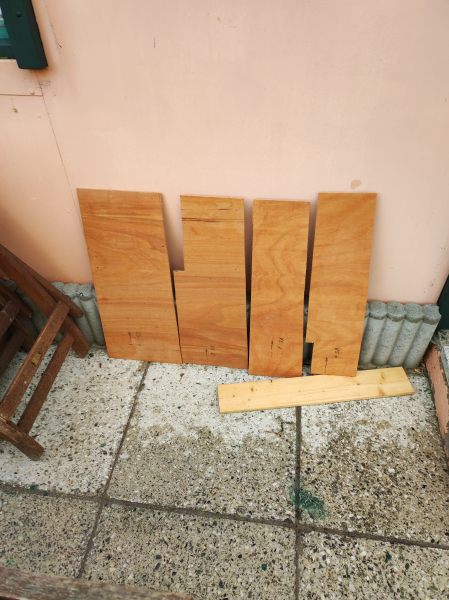
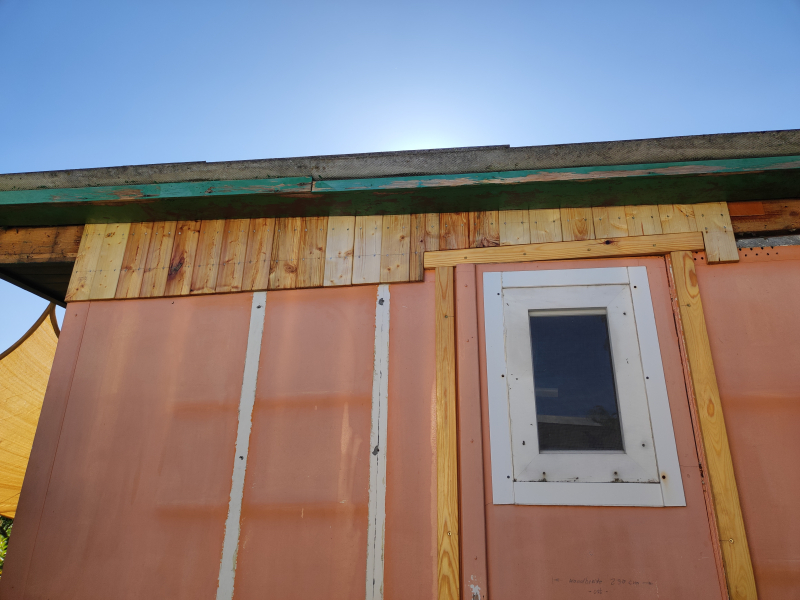
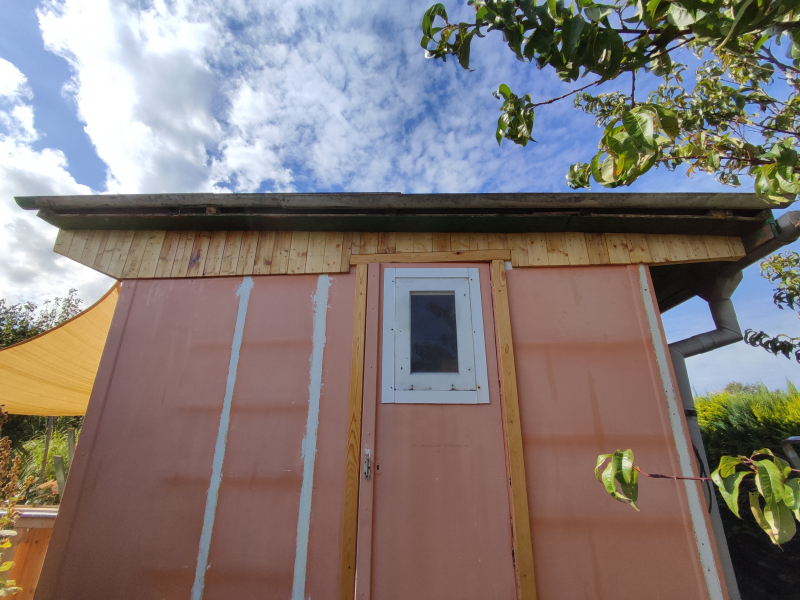
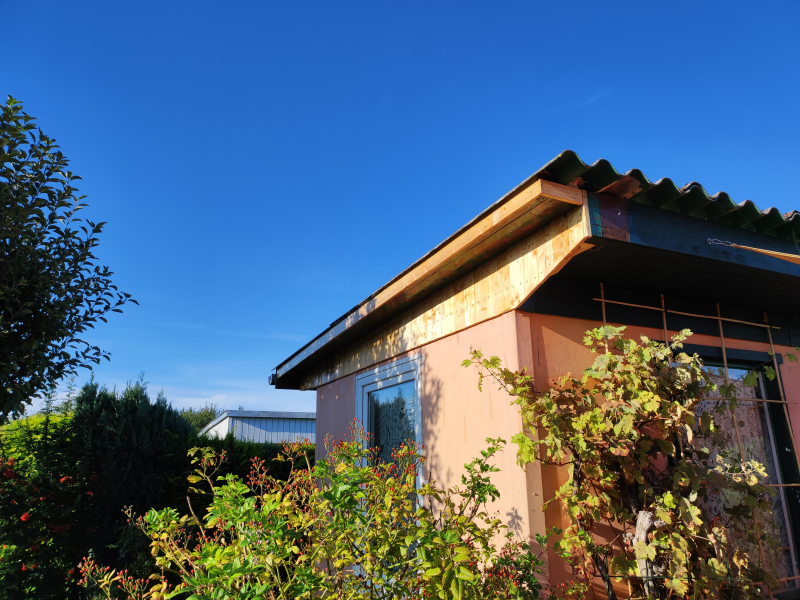
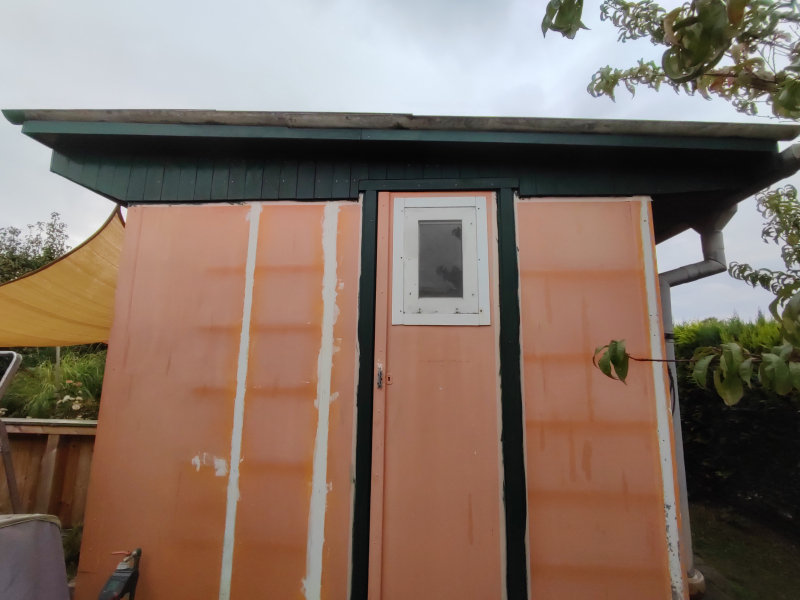
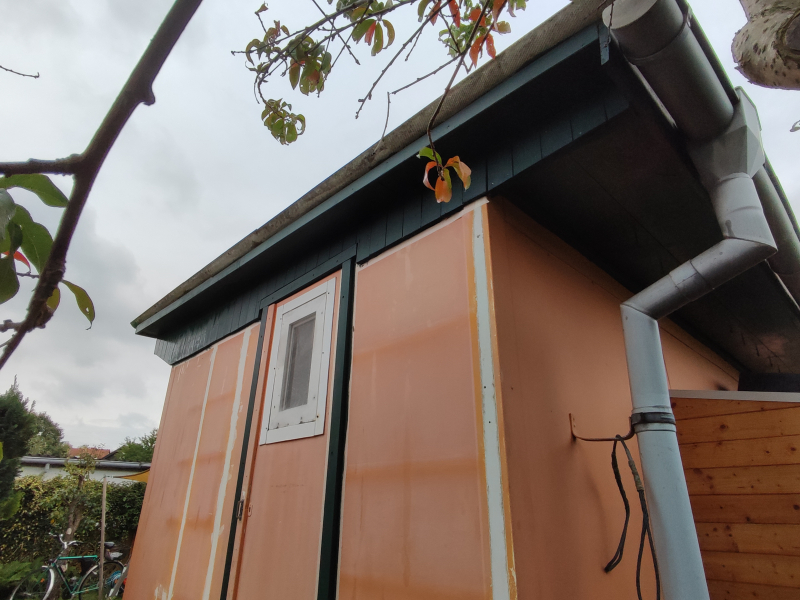
Weiter ging es über die Ostseite und dann zur Nord- bzw. Geräteschuppen-Seite. Eigentlich sollte ja auch mal die Nebentür auf der Ostseite völlig erneuert werden, aber sie ließ sich nach der Entfernung einer alten Insektenschutzgaze und dem Ausspachteln größerer Löcher, die ehemals beim Einbau des kleinen Fensters entstanden waren, noch ganz gut aufarbeiten. Das für die Anfertigung einer neuen Tür notwendige Geld konnt nun für die zwischengeschobene Reparatur des Schuppendachs umdisponiert werden:

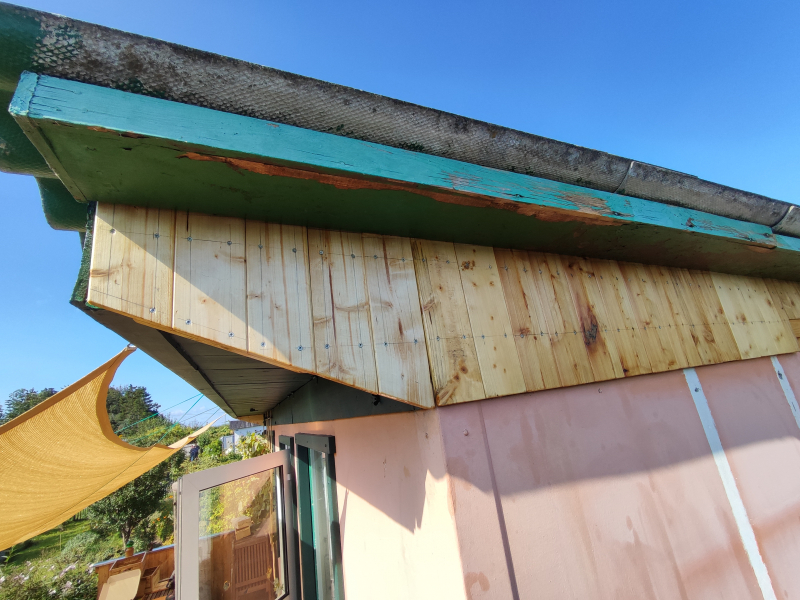
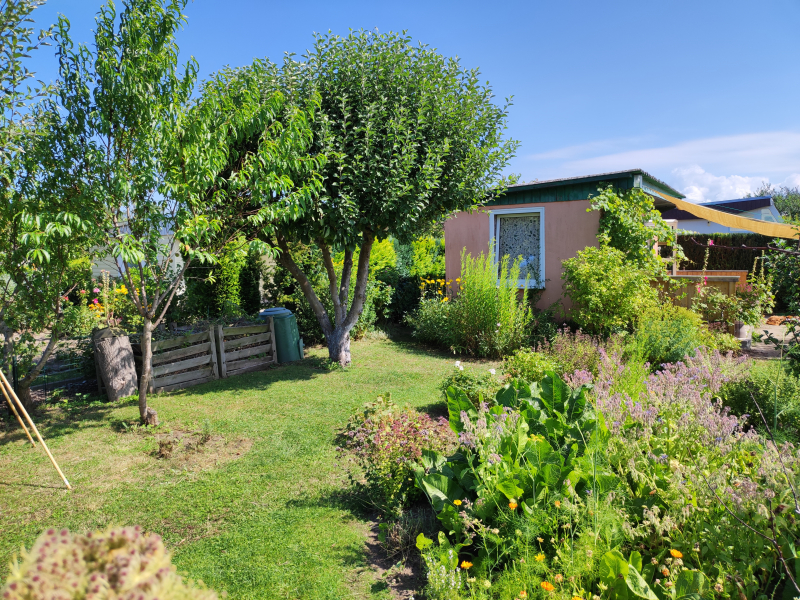
Nach dem kompletten Aufbringen eines zweiten Farbanstrichs war endlich der Geräteschuppen dran. Zunächst musste noch die Dachpappe beschnitten und einige Fehlstellen im Holz ausgespachtelt werden. Danach wurden die Seitenwände, die Front und die Türen mit einem Erstanstrich versehen:

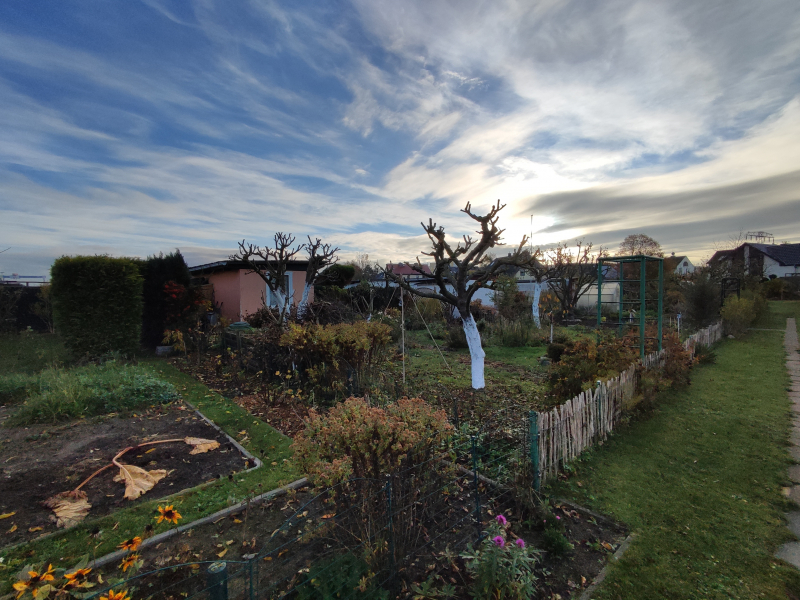
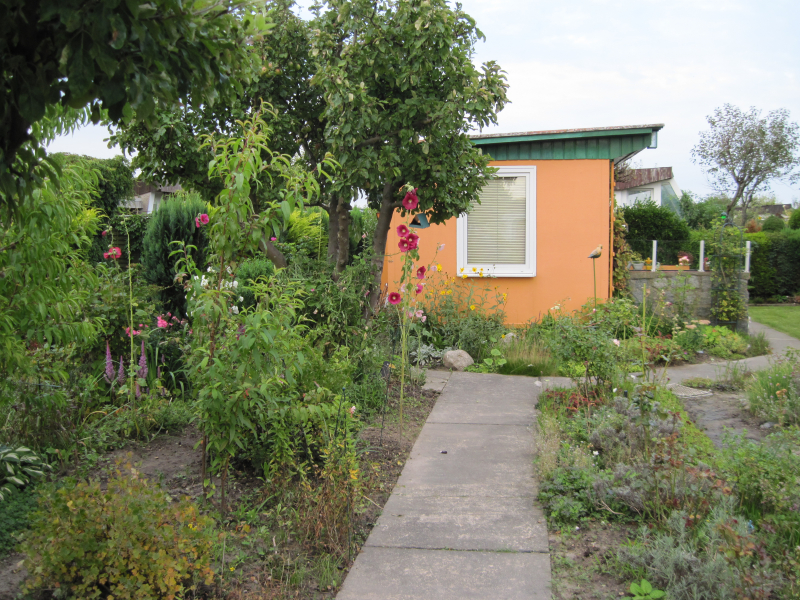
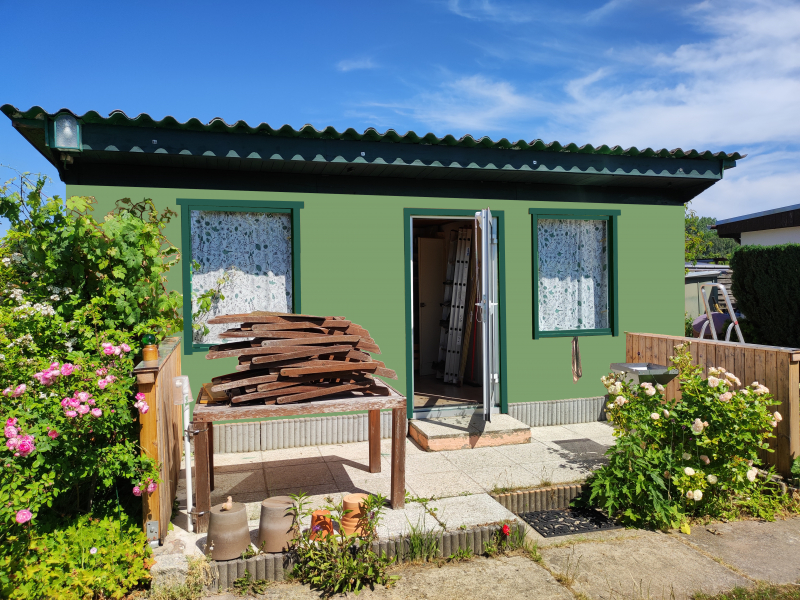
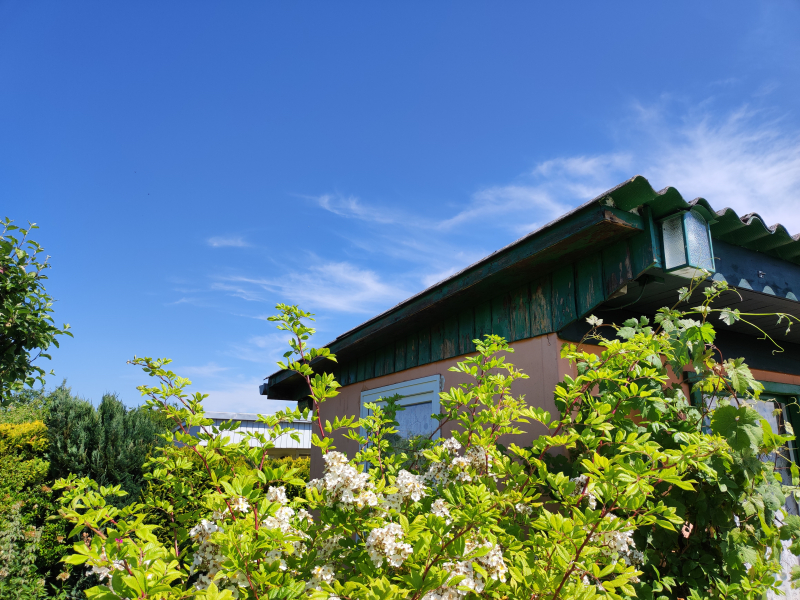
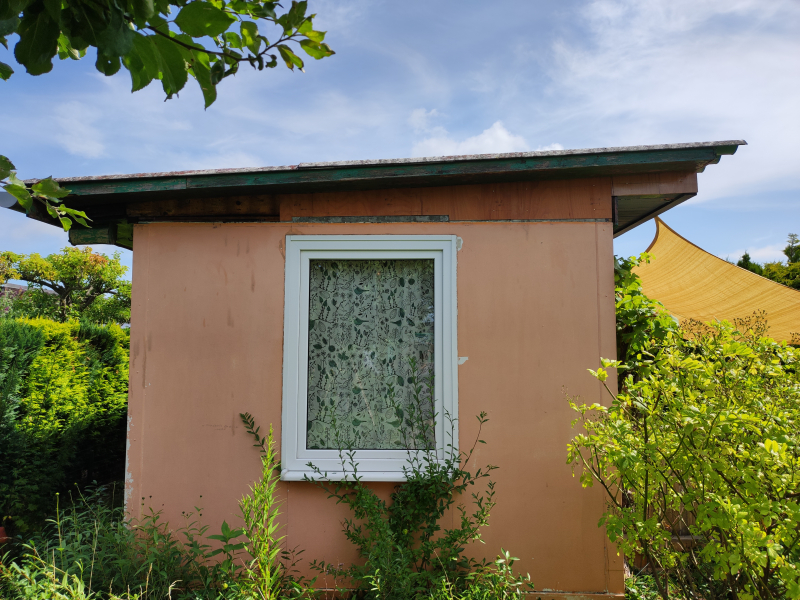
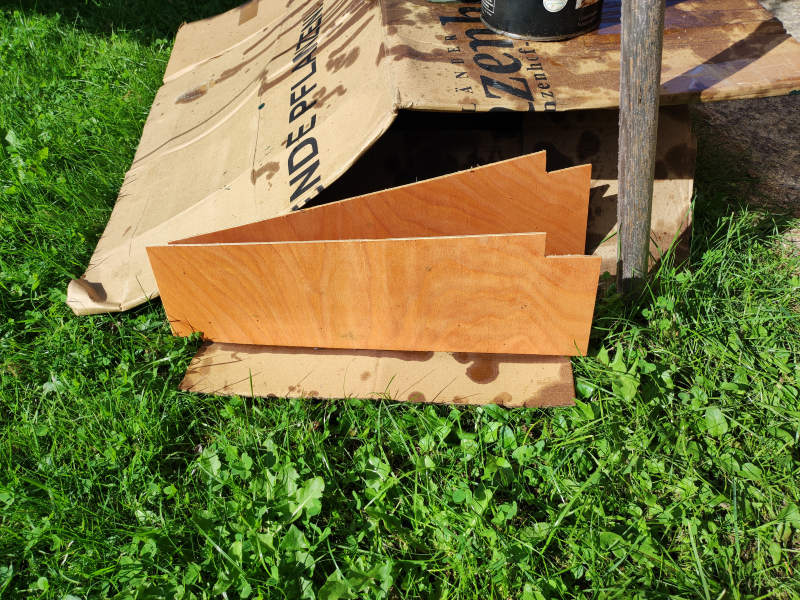
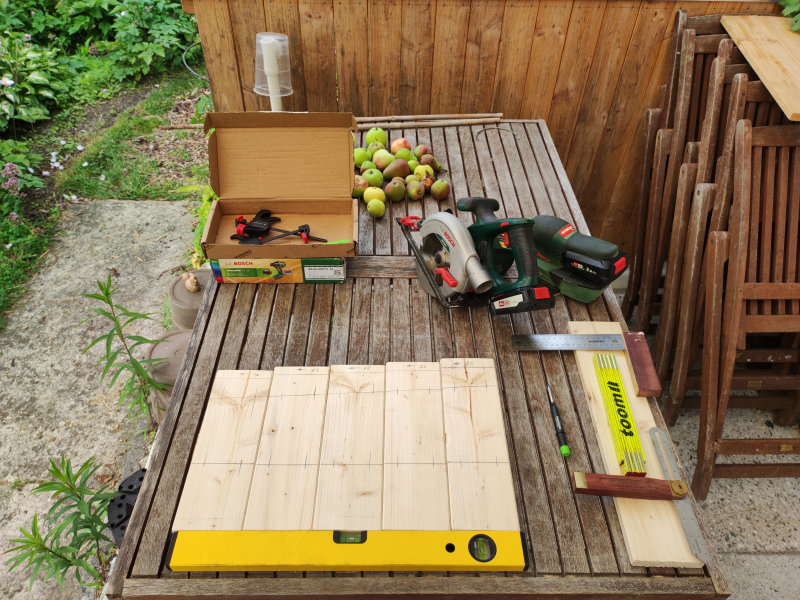
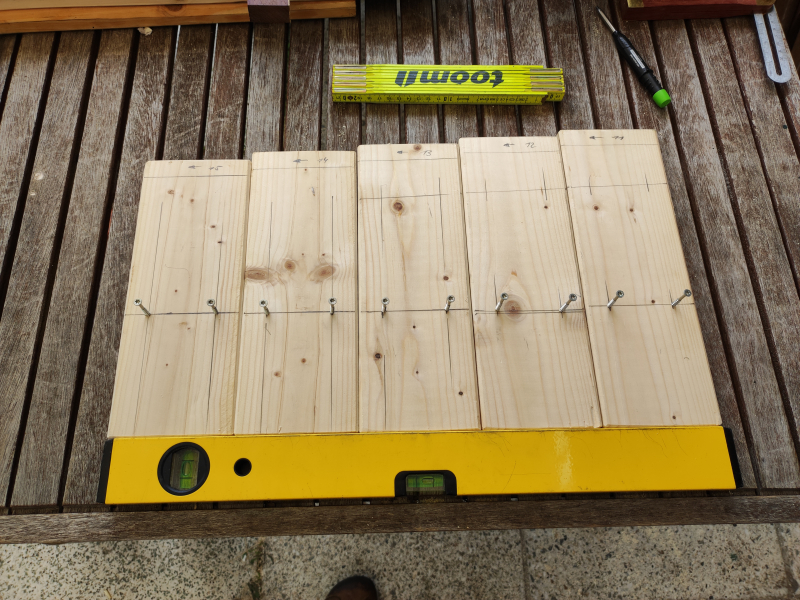
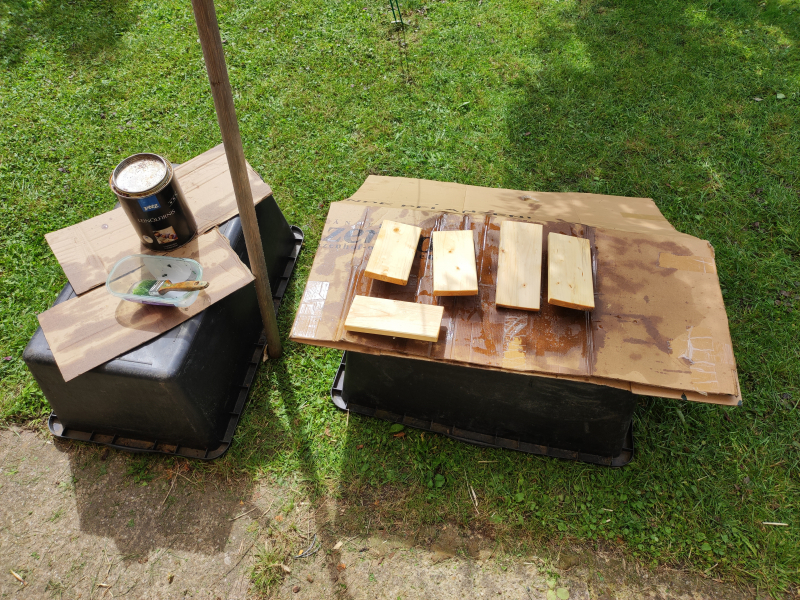
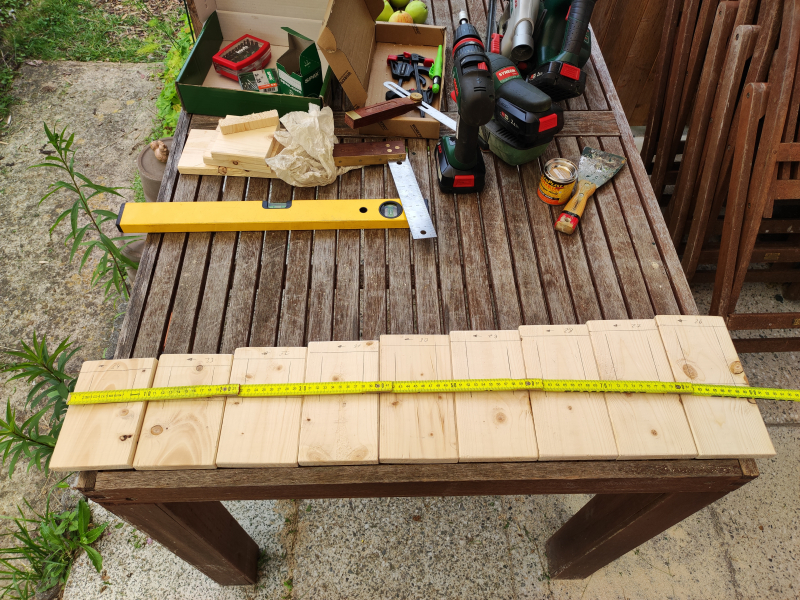
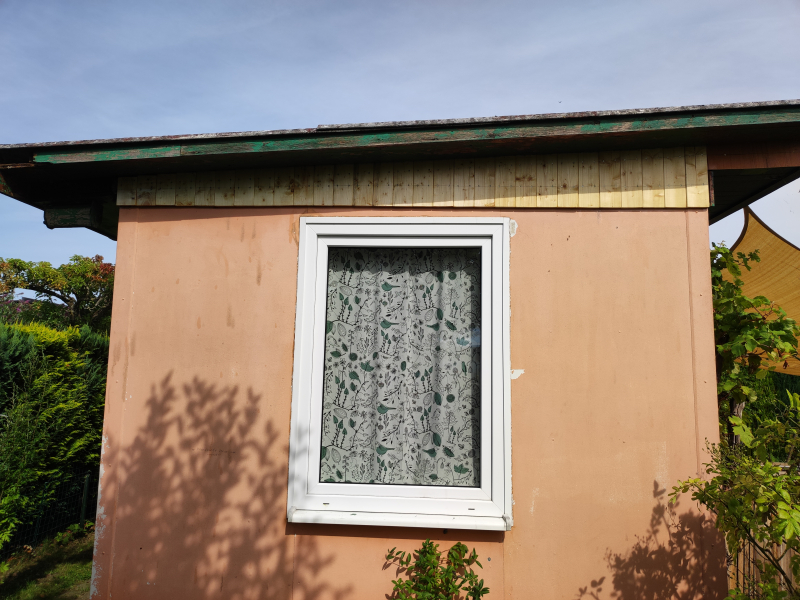
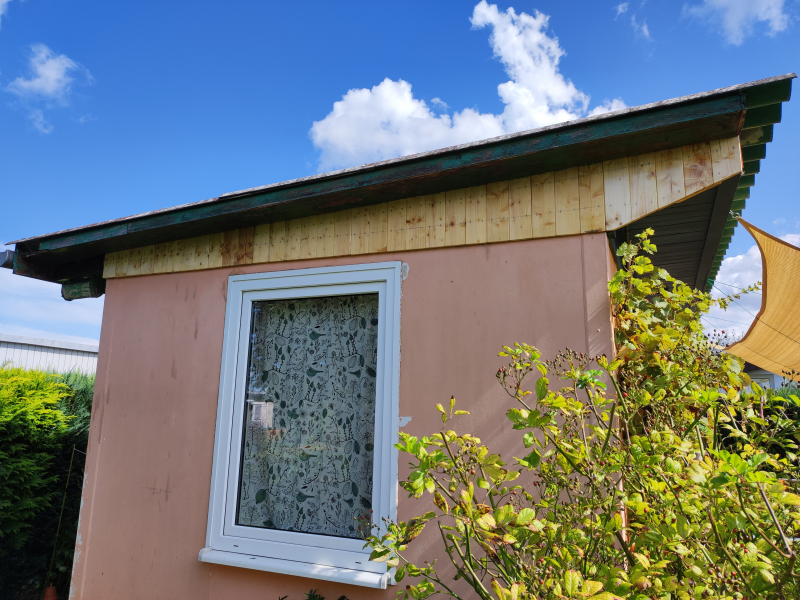
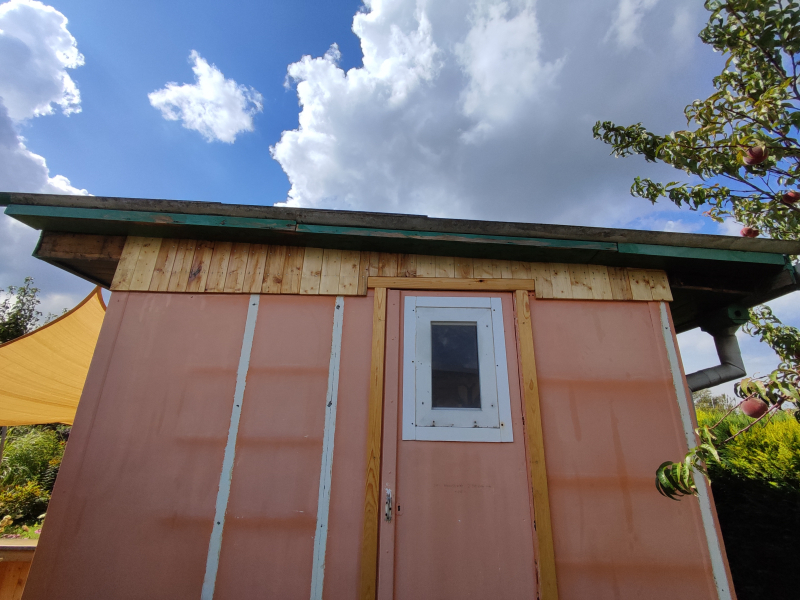
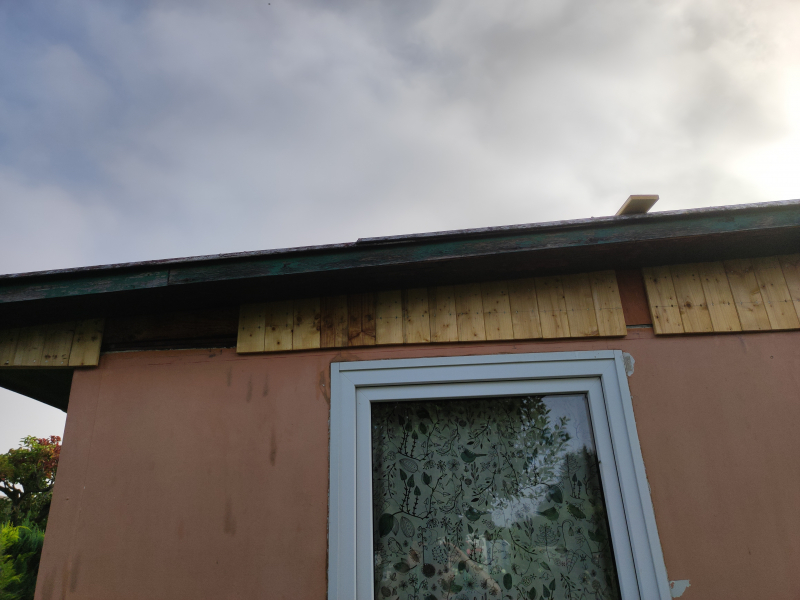
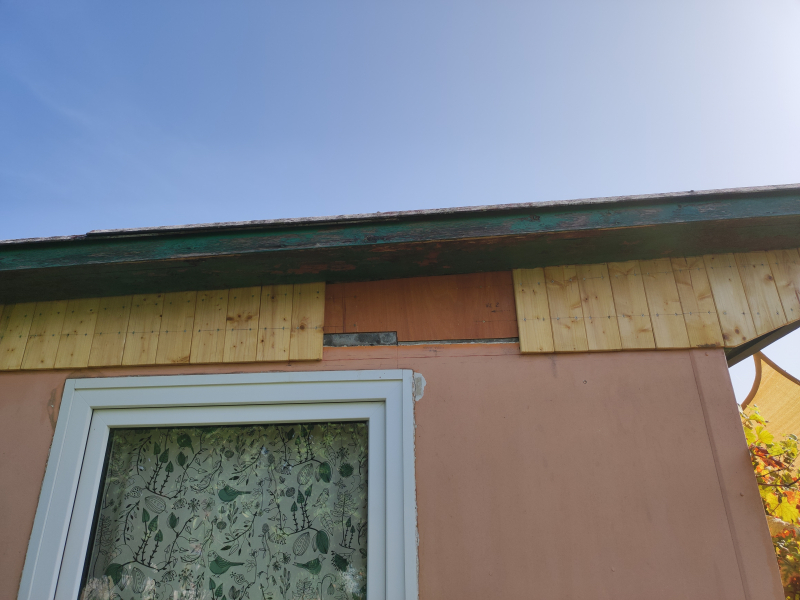
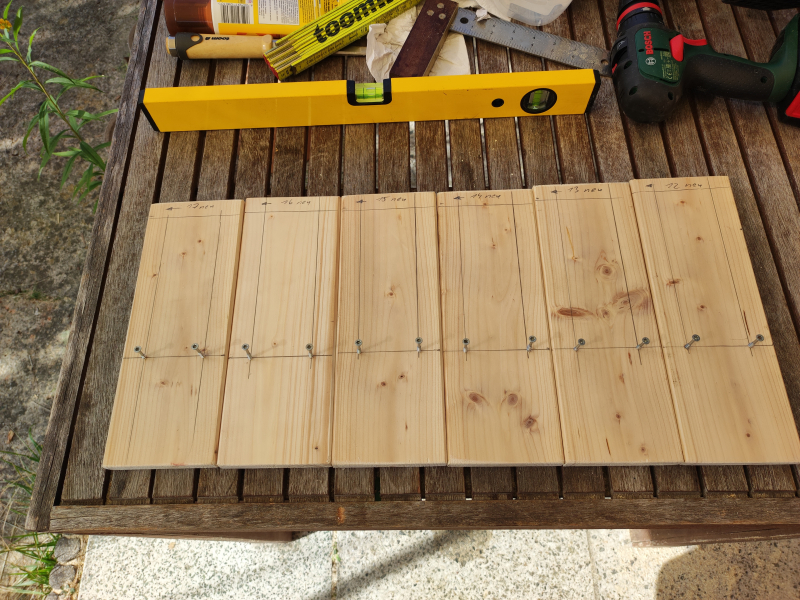
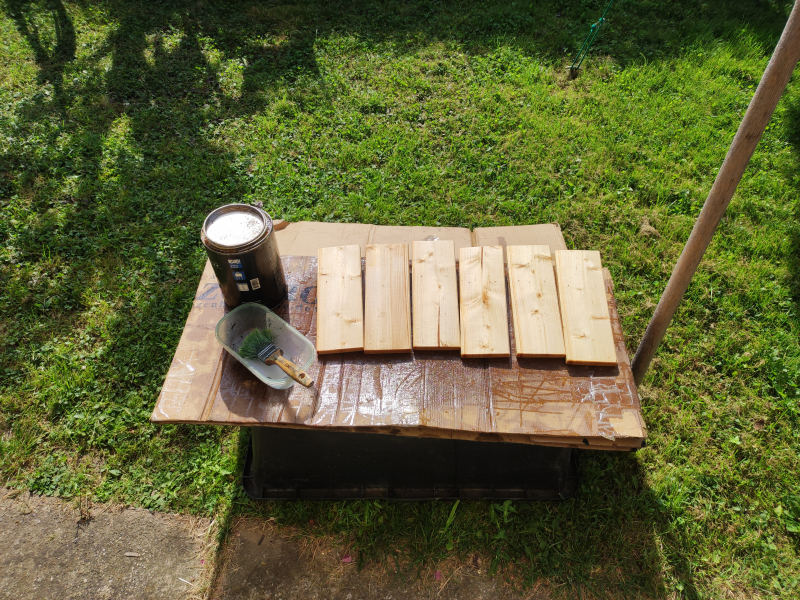
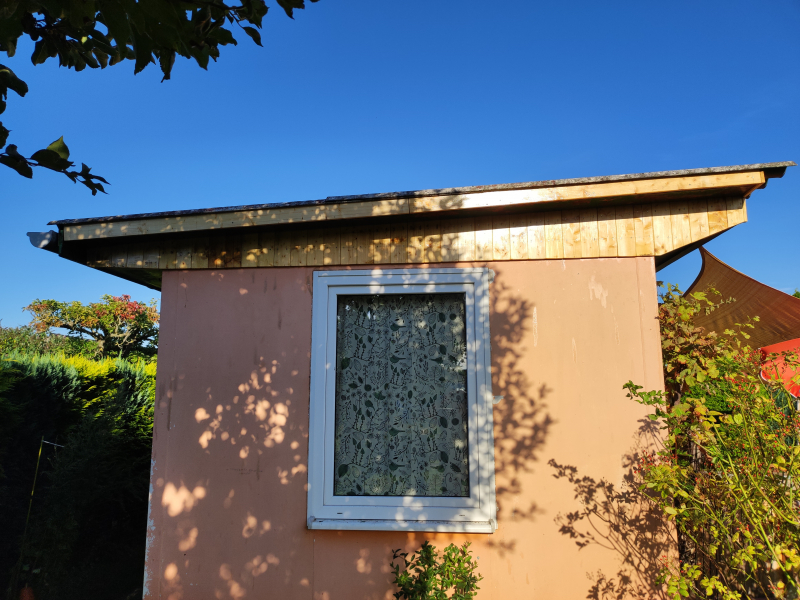
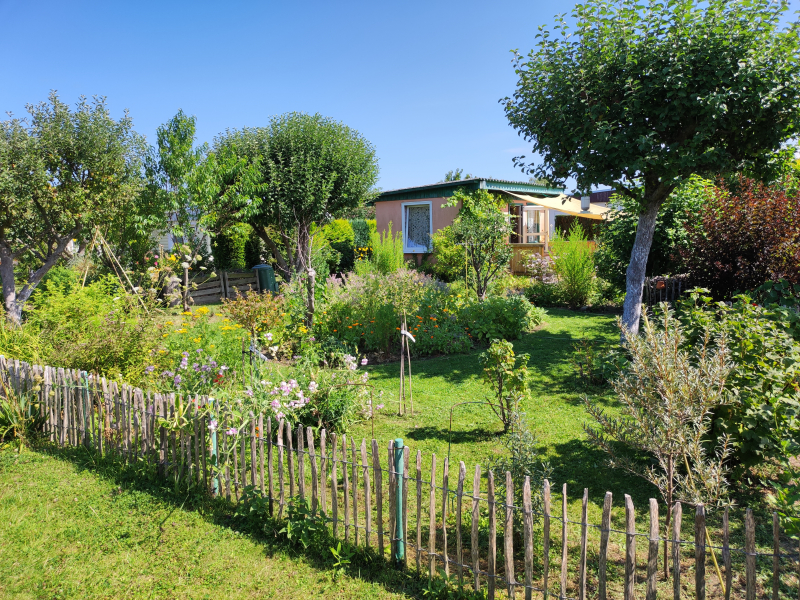
Da sich die weißen PVC-Fenster auf der östlichen und westlichen Lauben-Stirnseite auf dem hellgrünen Hintergrund nicht kräftig genug abgehoben haben, wurden für sie noch dunkelgrüne Abblendleisten angefertigt und aufgeschraubt. Damit kann sich die Gartenlaube im neuen Outfit schon einmal sehen lassen:

Nach dem Entfernen des Malerkreppbandes sind auf dem dunkelgrünen Untergrund (insbesondere Fensterrahmen) einige Fehlstellen entstanden – vermutlich hatte die Sommerhitze dafür gesorgt, dass der Kleber des Kreppbandes mit der Leinöl-haltigen Schwedenfarbe eine Verbindung eingegangen ist, aber vielleicht hätte der alte Farbuntergrund auch noch besonders vorbehandelt werden müssen ? Diese Fehlstellen wurden zwischzeitlich ausgebessert.

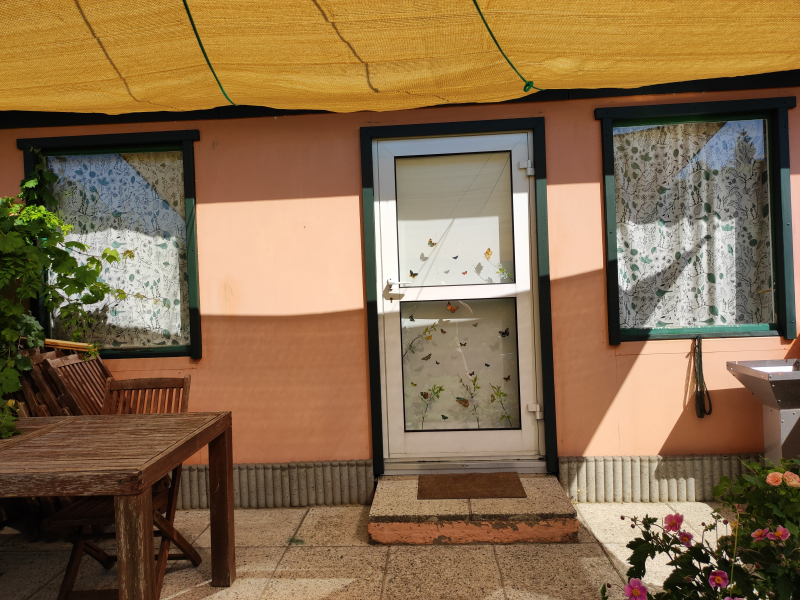
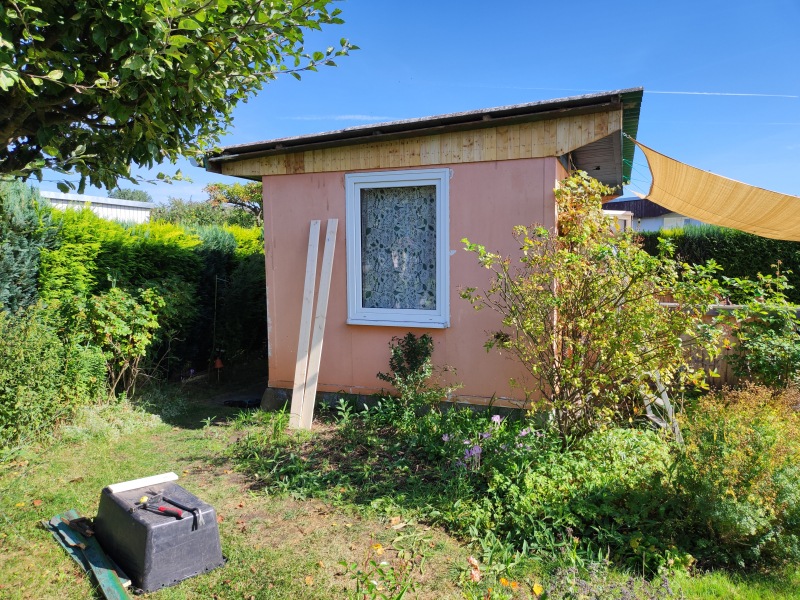
Und wie ging’s nun weiter ? Es mussten noch die bis dahin zurückgestelten zwei Holzfenster dunkelgrün und rundherum die Terrassenwände hellgrün gestrichen werden – damit waren wir mit allen Malerarbeiten im Außen durch:

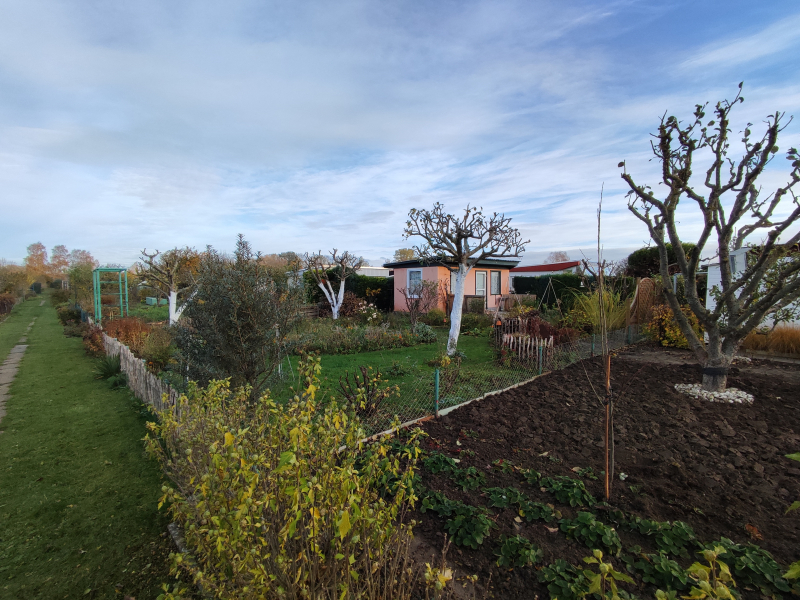
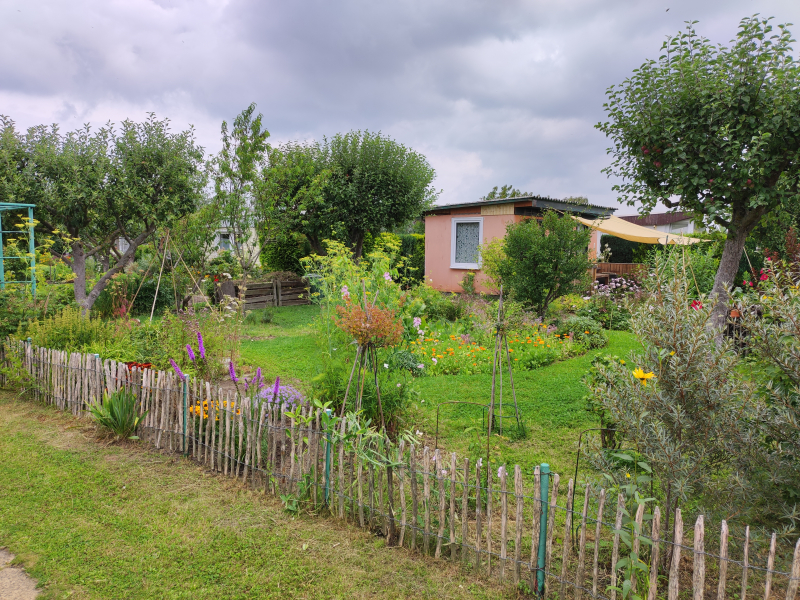
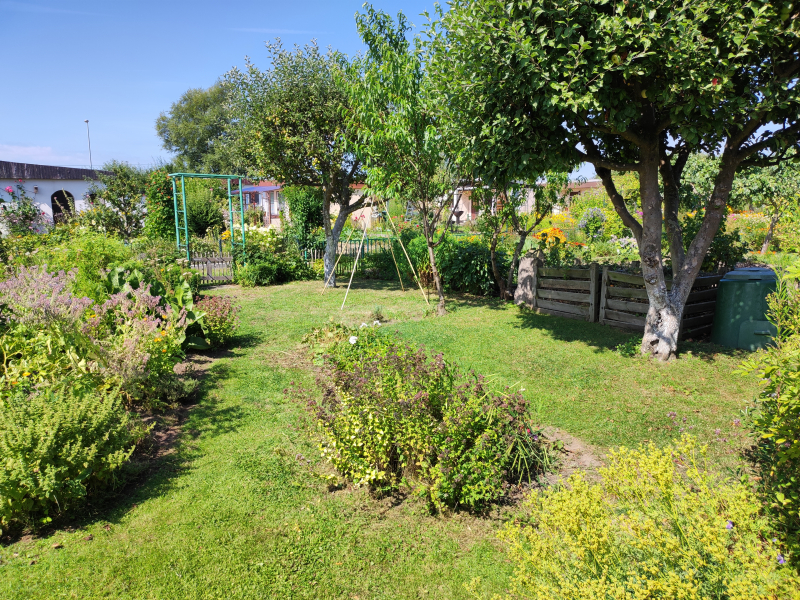
Insgesamt hatten wir vier Jahre gebraucht, um die Laube schrittweise rundum zu reparieren und schlussendlich mit einem neuen Anstrich zu versehen – das Ergebnis kann sich nun sehen lassen …

Reparatur Schuppendach 2024

Bereits in den letzten Jahren haben wir so nebenbei bemerkt, dass das Dach des Geräteschuppens leicht beschädigt sein müsste, aber im Rahmen der äußeren Malerarbeiten oberhalb des Schuppens wurde uns das wirkliche Ausmaß bewusst: Es gab zwei größere Auswaschungen an der Dachpappe infolge zweier Undichtigkeiten in der darüber verlaufenden Dachrinne …

Nun hatten wir zuvor ja schon an der Gartenlaube aufwändig den umlaufenden Dachkasten repariert, der die Seitenbereiche unter dem Wellasbest-Dach und dem darunter liegenden Teer-Dach schützt – mit anderen Worten gibt es hier also zwei übereinander liegende Dachflächen und einen dazwischen liegenden Drempel mit einem insgesamt hervorragenden Wärme- und Nässeschutz. Dieser Aufbau sollte uns dann als Vorlage für die Dachreparatur des Geräteschuppens dienen, d.h. es sollte ein neues Dach aus einem robusten Material über die Dachpappe gelegt werden. Wir haben uns hier recht bald für eine (recyclebare) Trapezblech-Ausführung entgegen einer (schwer recyclebaren) Wellplaste-Ausführung entschieden:

Gesagt – getan. Nach dem genauen Aufmaß, der Skizzierung der Konstruktion und der Material-Beschaffung begannen wir mit der Vormontage des großen Dachpanels aus 3 Trapezblechen und umlaufenden Alu-Winkeln. Die Winkel sollten dem Panel nicht nur eine bessere Steifigkeit verleihen, sondern auch die scharfkantigen Blechränder abschirmen, um bösartige Verletzungen bei versehentlichen Berührungen zu vermeiden. Alle Dinge brauchen so ihre Zeit, aber die Vormontage wurde durch eine defekte Nietzange, in der sich die abgekniffenen Nietnägel immer wieder verklemmten, außerordentlich verzögert. Eine aus dem Baumarkt kurzfristig beschaffte neue und bessere Nietzange verschafte dann auch schnell Abhilfe und das vorgefertige Dachpanel wurde danach vorübergehend geschützt eingelagert:

Schlussendlich musste nur noch das Panel auf’s Schuppendach. Um die Panel-Unterseite durch die vorhandene Dachpappe nicht zu beschädigen und einen belüfteten Zwischenraum (wie beim Laubendach) zu erhalten, schnitten wir noch eine dünne Bautenschutzmatte aus recyceltem Gummi in passende Streifen und legten diese zunächst auf dem alten Dach in passenden Abständen aus. Nun wurden ins vormontierte Dachpanel in regelmäßigen Abständen Bohrungen für die (Spengler-) Befestigungs-Schrauben eingebracht und dann das gesamte Panel auf’s Dach mit den untergelegten Gummistreifen gehoben. Hier mussten das Panel und die darunter liegenden Gummistreifen noch etwas gleichmäßiger ausgerichtet werden, und dann wurde das neue Dach mit zahlreichen Spenglerschrauben gut befestigt – das Ergebnis kann sich jetzt auch sehen lassen:

Garten-Saisonstart 2024

Nachdem wir einen recht milden Winter überstanden haben und uns seit Anfang März auf längere helle und warme Tage freuen können, widmen wir uns nun wieder unserem Kleingarten. Und was war für dieses Jahr geplant … ?

Also – nach den umfangreichen Reparaturarbeiten in den Vorjahren sollte die Laube rundum einen neuen Anstrich bekommen, wobei der Dachkasten und die Fensterrahmen ja schon im letzten Jahr fertiggestellt wurden. Aber bevor diese Arbeiten beginnen, muss erst einmal im Garten selber „Baufreiheit“ geschaffen werden: Es waren nämlich noch (1) die Hecke zum rückwärtigen Nachbarn zu schneiden, (2) der Grünschnitt (von den Ästen und Zweigen der Obstbäume) zu häckseln und (3) der Kompost umzusetzen: 

Der Koniferen-Grünschnitt wurde über eine zentrale Kompostierung entsorgt, weil er für unsere eigenen Kompostboxen zu sauer ist und darin leider nicht verrottet – dafür stellt der Kleingartenverein im Frühjahr und im Herbst große Container bereit.

Bereits bei der Übernahme des Kleingartens von unseren Vorgängern hatten wir den geraden Betonweg abbrechen und durch einen gewundenen Rindenmulchweg ersetzen lassen. Da sich der Mulch im Laufe der Zeit zersetzt, muss es regelmäßig wieder aufgefüllt werden, und dafür ist dann immer unser Häckselgut vorgesehen. Unsere Hunde gehen darauf nicht gerne und schleichen sich im Randbereich vorbei, aber der Mulchweg ist so naturnah, wie es nur irgend geht, und immer trocken, weil das Regenwasser leicht durchsickert.

Der im Laufe der Vorjahre eingelagerte Grünschnitt wird im Frühjahr umgeschichtet und das verrottete Material als hochwertige Komposterde ausgesiebt sowie auf die Gartenbeete verteilt. Ein Zukauf ist nicht nowendig, wobei man sich dann der Reinheit des Materials (z.B. von Düngerresten, Mikroplastik usw.) auch nicht sicher sein kann – unsere Komposterde jedenfalls hat eine von den Regenwürmern hervorragend geschaffene Struktur und riecht auch sehr natürlich.

Nach diesen Arbeiten haben wir uns eine kleine Pause verdient und können demnächst arbeitsteilig unsere geplanten Vorhaben umsetzen – der Eine kümmert sich um die Bau-, Reparatur und Malerarbeiten und der (die) Andere (ich selber) überwiegend um die Pflanzen …

Garden season end 2023

Despite all the extensive repair work on the gazebo, we still found the opportunity to relax in a deck chair and drink coffee every now and then - and we were also able to enjoy the nature around us more consciously. But initially a little unnoticed, autumn began to arrive here with increasing steps and we now had to prepare the garden for winter...

As in all previous years, the focus was on pruning fruit trees and shrubs. We also wanted to get rid of the snowball tree because it didn't make much sense to us - it was originally intended as a privacy screen, which other shrubs have now done better. The clippings (twigs and branches) were then piled up in several piles and served as quarters for the hedgehogs over the winter. The clippings are only chopped up in the spring and the main path is filled up.

We wanted to leave the back hedge uncut over the winter to protect the birds, and the two sea buckthorn bushes at the front won't be added until spring - perhaps some yellow berries can still be harvested there in late autumn or winter.

Finally, to protect against frost, we emptied the hot water boiler and pipes and shut off the main water tap, before filling up large water canisters. Furthermore, the awning was dismantled and the large garden table and the associated folding chairs were moved from the terrace into the arbor - so the entire garden should be winter-proof:

New birdhouses

Unfortunately, as part of the repair of the arbor roof box, two dilapidated birdhouses that had previously been incubated this year also had to be abandoned. We only touched this roof box area during the repairs when the birdhouses were empty again and we had checked again with an endoscope camera. Immediately after they were demolished, the main dimensions for making new birdhouses were taken and a sketch was made to determine the material requirements...

A few weeks later, when the autumn weather that had just arrived allowed it again, we quickly made three new birdhouses. They now have flaps so they can be cleaned after incubation. Short bamboo perches were added in front of the entrance hole, then the same dark green Swedish color as the entire roof box was added (only from the outside) and finally they were screwed under the rear (northern) roof box overhang - the old birdhouses were also there:


With the completion of the new birdhouses, all planned and unplanned structural work in our garden for 2023 has now been completed. As you can see on closer inspection in the last two pictures, just a few days later the birdhouses (at the back) were inspected very closely by the sparrows inside and out - nothing seems to stand in the way of using them.

Repair concrete path 2023

We took over the garden in 2011 and had it prepared by a small gardening company. This work also included the demolition of the concrete straight access path from the garden gate directly to the west end of the arbor and, as a replacement, the redesign of a meandering access path with bark mulch to the south side, ie to the terrace - so much for the history...

To this day, a narrow concrete path still leads around the north, east and south sides, and on the rear north-east corner this has now broken several times and has sagged somewhat. If this damage is not repaired before winter, water will seep into the broken areas, ice up and destroy the path until it becomes a pile of gravel - this must now finally be prevented...

We considered for a long time whether the entire concrete path should be demolished and then paved, but that is currently beyond our capabilities, so we decided to fill the damaged area with screed concrete. To do this, first a measurement was taken, the material requirements were determined, then 8 bags (200 kg) of screed concrete and 5 formwork boards were purchased. Since we have little experience with concrete work so far, the project will be a little adventure:

After the initial diagnosis and procurement of materials, the concrete path was cleared of vegetation and at the edges and then hosed down with a high-pressure cleaner. Now the damage (breaks, cracks and subsidence) appeared “in all its glory” – the picture was already frightening and the question immediately arose as to whether over-concreting would actually be worth it? On this occasion we also took interior photos of the double-chamber sewage treatment plant, which is a separate topic in itself (but we have been using a composting toilet for years and the sewage chambers are only used for rain drainage). But we first decided on concreting over concrete as an interim solution for the next 2-4 years, especially since the building material required (screed concrete) only cost us around EUR 40. And then the formwork was created:

Finally, bags of screed concrete were mixed with water and applied. We actually expected the additives contained in this concrete to have a much finer grain size and did not find any corresponding information on the packaging or description. In any case, the concrete contained many small pebbles with a grain size of up to approx. 4 mm instead of finer gravel, and the pebbles often tore open small joints and holes when smoothing. The casting was therefore only smoothed with a large trowel, especially since it was only intended to be an interim solution - the surfaces that had already dried did not appear to be completely flat.
A floating smoothing layer will probably also be applied over a cast screed concrete layer - we had this material when laying the foundationTerrace wallsalready used:

After dismantling the formwork with almost no loss and cleaning the reusable boards, we discovered a few, but not serious, cracks on the concrete path in front of the terrace (south side). Instead of concreting over this path next year, it might be a good idea to widen the terrace with wooden planks so that the path could continue to be used as a solid substructure...

Konzept Neuer Laubenanstrich

This is just a preliminary announcement for the new arbor painting planned for spring 2024, because unfortunately we won't be able to do it any sooner: the necessary repairs to the shed on the back of the arbor and the roof box as well as the complete renovation of the terrace walls have now been completed. All of these wooden elements were completely preserved with linseed oil, so that no weather damage is to be expected - the only thing to be expected is a darkening of the wood and some external contamination...

We bought a high-pressure cleaner in spring 2023 and tried to blast the loose paint off the arbor, and as a result the arbor walls looked much better. We will then repeat this work in spring 2024 before all the smooth walls of the arbor get a new coat of MOOSE-FÄRG paint...

And here is the initial state (green-light red) and the color concept in two versions (dark green-light green or dark green-yellow):

It is still being discussed whether the tool shed and the terrace walls will be in light green and the arbor walls in yellow - but we will be able to sleep on that for a few more nights. Since the arbor roof box has now been completely repaired, we have already painted it, as well as the window and door frames, dark green, because the choice of color was already decided:

Repair arbor roof box 2023

Before the long-cherished wish of finally giving the gazebo a new coat of paint can come true, some repair work on the roof box was unavoidable: the tool shed on the back of the gazebo and the terrace walls were already completely renewed in 2021, but the sloping one The roof box is lined with wooden boards that had not only lost their color, but were even slightly rotten in places. We took over the garden from an older couple in 2011 - the man had once been a painter by profession and had given us the arbor freshly painted, but the paint was probably not really as weatherproof as is actually necessary here in the sea air...

The plan was to replace the damaged boards with new wooden material pre-sealed on both sides with linseed oil - here are some pictures of the damage:

The entire work was quite demanding and spanned several summer months: First, the damaged wood had to be torn off:

And then the now open roof box was cleared of old stored material from our predecessors and unexpected rubbish: We also found two large marten nests here - the little animals must have gotten into the roof box via the vines climbing up the arbor:

Now it was necessary to reline and seal the side walls to such an extent that a flat surface was created for the new wooden boards to be attached above them. You have to know that the...Gazebo type “Rövershagen”It was built well over 30 years ago, ie during the GDR era, and some materials were used that were barely available at the time. In other words, the otherwise invisible roof box substructure was pieced together with uneven roof battens, which could now possibly be reflected in the new superstructure:

After this preparation, new veneer boards were gradually measured, sawn, sanded and pre-preserved on both sides with linseed oil in order to significantly extend their lifespan. This veneer would in itself be very weather-resistant, it would only darken the wood, but at the end it should also be given a coat of water-soluble linseed oil“Swedish color”come to think of it – here is the western weather page:

And here is the east side, which is hardly affected by the weather:

The adjustment work was very time-consuming and the boards had to be taken down and moved several times because an error in chain dimensions had unfortunately crept in (on the west side), which had led to an offset on the rear lower edge of the roof box. A newly purchased chalk line was used to mark a new lower edge against which the converted or newly made boards were aligned - this solution could actually have been thought of from the outset:

Finally, we decided to replace the eaves boards under the corrugated asbestos roof because they were no longer in the best condition:

This completes the extensive repair work on the entire arbor roof box. In June (when repairs began), the roof box on the south side was sanded down and repainted because repairs were not necessary here. And now the two front sides and the back have been given a first coat of paint - theManufacturerrecommends a double coat for better coverage. However, you can already clearly see (despite the edges being taped) what the arbor in the roof area will look like:

The complete new color design of the gazebo is planned for spring 2024... but that's another onenew garden episode

Our garden in spring 2023

Spring has begun and with that the remaining work in the garden had to be done that could no longer be done in autumn last year, namely pruning the fruit trees before the new blossoms. So there were still three apple trees due, because the two pear trees had already been pruned in the fall and you only get to the peach trees when they are already in bloom. In addition, the removal of a (poisonous) laurel cherry and a lilac bush, both of which grew too close to the neighborhood fence, had been discussed for some time - they still had to be cleared...

First the three apple trees were trimmed and then the two bushes were cleared. As in all previous years, there was quite a lot of clippings, which, apart from the (poisonous) laurel cherry, which was disposed of separately in a garden club's green waste container, now had to be chopped up and then poured onto the main garden path - we did so for cost reasons No paving was laid, which also meant that the sealing of garden areas was kept to a minimum...

However, both of our dogs don't particularly like the shredded material from the tree cuttings, meaning they don't like to walk over it with their paws, but rather give it a wide berth. In order to make the main path more pleasant and raise it a little anyway, we finally filled it with bark mulch from the hardware store. This means that the first “construction phase” of our spring preparations has now been completed – now all we have to do is turn over the compost and prepare the beds – but that’s another story:

Our garden in summer 2022

Now exactly a year has passed since our somewhat extensive repair and renovation work on the arbor and the garden has turned out very well. Last year the harvest was a bit sparse, but now we had an unexpectedly large number of peaches, pears and apples that needed to be canned quickly. Previously we were able to harvest a large amount of red and black currants as well as some newly planted red and yellow gooseberries. Unfortunately it didn't work out with the chokeberries ( aronia ), because the birds were faster, and the newly propagated sea buckthorn still has to establish itself...

Somehow the beans didn't make it this year - but we had better luck with yellow and red potatoes and horseradish. For many years, very large fennel bushes grew in this garden area, which we cleared last fall. In the spring, around 1.5 m³ of older compost was buried there, which warmed the potatoes from below. We have always refused to take all the green waste to the collection point, as many of our garden neighbors do - this has nothing to do with permaculture - instead we have a very powerful shredder and three composters to collect branches, twigs, leaves, To prepare stalks, grass, etc. for reuse in the garden...

And then, in addition to various culinary herbs, we have many medicinal herbs - recently also the annual mugwort ( Artemisia annua ) in addition to the comfrey, the stinging nettle, the lady's mantle and sage, the marigold and many others, which I use in DMSO to make tinctures or in ghee or coconut oil into ointments - mainly for our own use to treat ourselves and our two dogs, but also for practical studies on their effectiveness. For many years, even before I even learned REIKI , I had been very interested in herbal medicine according to Hildegard von Bingen and others (more on that here ). So – and now some current impressions from our garden: